
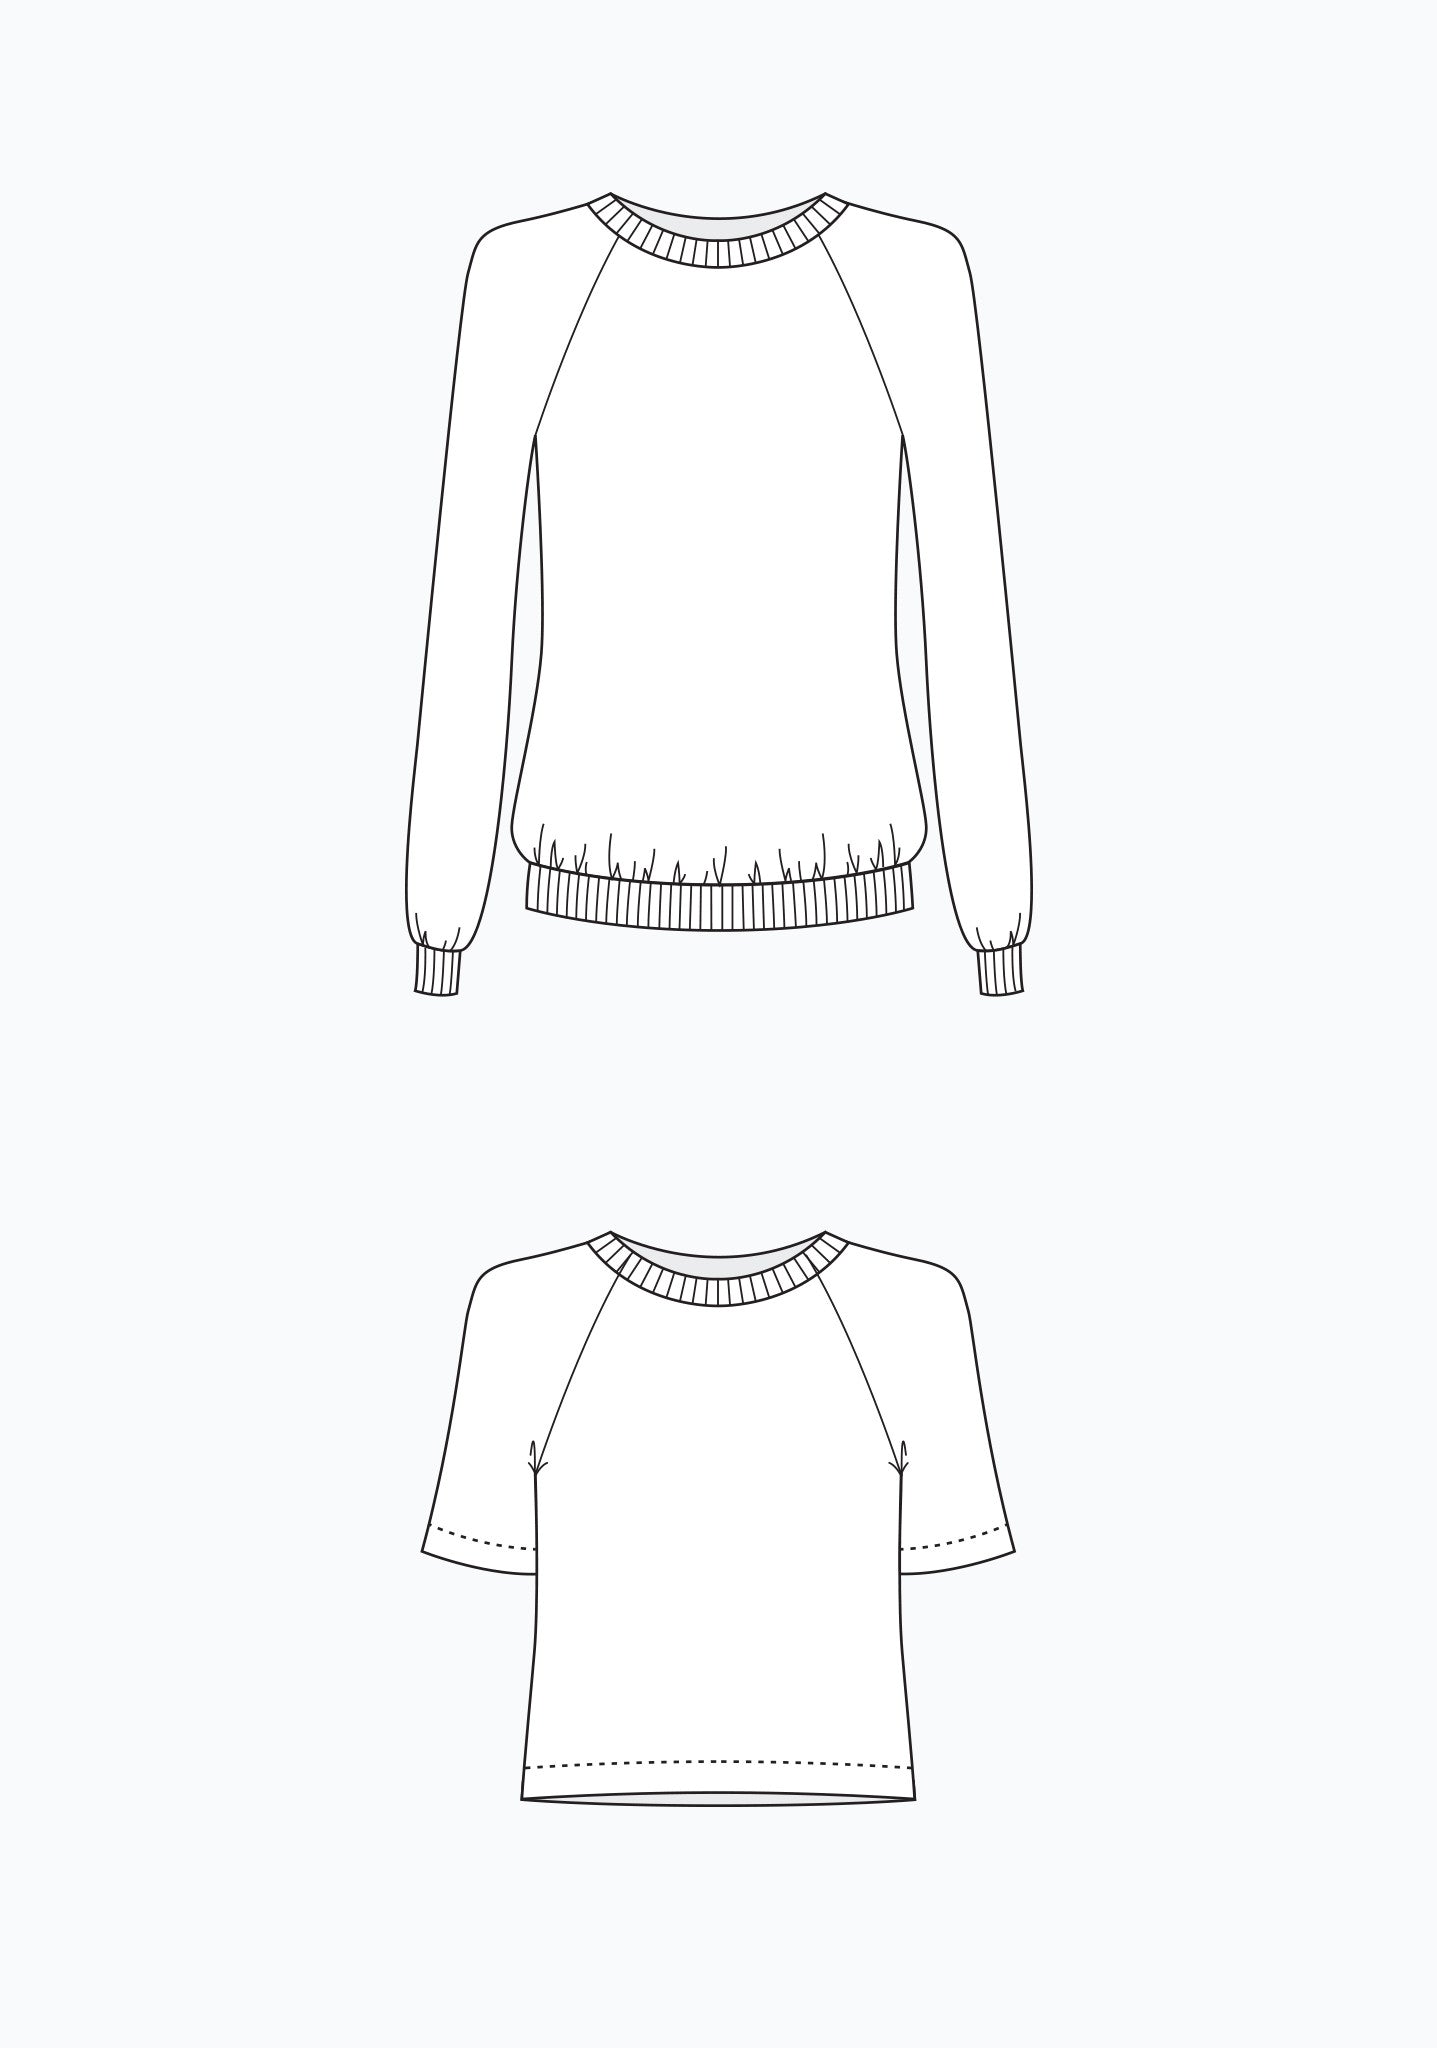
The Linden Sweatshirt pattern by Grainline Studio has been hanging out in my pattern stash for a while and this month I was finally inspired to sew it up as a Christmas gift for my sister. I'd toyed with making an Ogden Cami but kept dragging my feet until I realized it just didn't seem right. I'm sure you've seen other bloggers make the Linden as a gift, since it's pretty forgiving fit-wise and quick and satisfying to sew.
I grabbed two different pontes from my fabric stash. The black and white striped one is more stable and less stretchy than the lighter weight teal. I knew I wanted to use the stretchier teal for at least the neckband (otherwise I'd need to make the neckband longer to account for the lower stretch percentage of the striped ponte), and then opted to avoid extra side-seam stripe-matching by also using it for the back. The cuffs seemed a little small, so I figured they should go with the stretchier fabric, too. To avoid things getting too scrunchy and tight around the waist, I used a split-hem variation, with Jen's quick tutorial. I prefer this look to a traditional sweatshirt hem anyway.

In reading through the pattern instructions, I could not, for the life of me, seem to find the seam allowance noted anywhere. I had a feeling it would be smaller than your traditional 5/8" since it's intended for knits. The only mention of the SA I found was in the "Sewing with Knits" section, under "Using a Serger" where it notes 1/4". I used a sewing machine with a tiny zig-zag stitch for the entire thing, and a 1/4" SA. Also of note, in using Jen's tutorial for the split hem effect, follow her advice and make the back band significantly wider when you're cutting out (if you like that look where the back flap extends further down than the front). I only extended mine about half an inch, which turned out to be hardly noticeable once the thing was folded and sewn together.
Now that I've finally tried out this pattern, I'm looking forward to making one for myself! I have some classic (boring but soft!) grey french terry that I bought at Mood to copy Sallie way back when, and even got the matching ribbing. Hopefully I'll FINALLY get cracking on that soon. For now, here's a photo of my lovely sister modeling her Linden for us.


It looks lovely! Can't wait to see yours :) I'm not sure if you found this with your sister's but I found that I had to size down quite a bit to get a more modern (not oversized/baggy) fit, just a heads up. (PS. SA on top of page ten)
ReplyDeleteThanks, Carlee! I sewed a straight size 6 for her based on what I expected her measurements were, but that was honestly a guess. I'll keep the oversized fit in mind when I sew my own. Also, I just revisited the instruction booklet -- SA noted on page 12 for mine! How strange. Dunno how I TOTALLY missed it before. :)
Delete