
- - - - - - - - - - - - - - - - - - - - - - - - -
Hi there! I’m Neeno from the blog Sew Me Love.
I’m 25 and I live in Melbourne, Australia. I started sewing
and reading sewing blogs in July 2011 and started blogging in September 2011 to
document my journey and also to share my experiences with other sewists.
and reading sewing blogs in July 2011 and started blogging in September 2011 to
document my journey and also to share my experiences with other sewists.
I was so excited when one of my favourite bloggers
Sue asked me to write a guest post for her blog while she is sunning
herself on beaches in North Carolina. Lucky lady!
Sue asked me to write a guest post for her blog while she is sunning
herself on beaches in North Carolina. Lucky lady!
I came across Sue’s blog
during the Julia Bobbin Mad Men challenge in March 2012, and since then I have
been absolutely smitten with her and her creations.
during the Julia Bobbin Mad Men challenge in March 2012, and since then I have
been absolutely smitten with her and her creations.
I have never written a guest post before so I wasn't sure what to write. I am not experienced enough to write a tutorial or share with you any special sewing skills, so I have written a pattern review for a dress I whipped up especially for Sewing Steady!

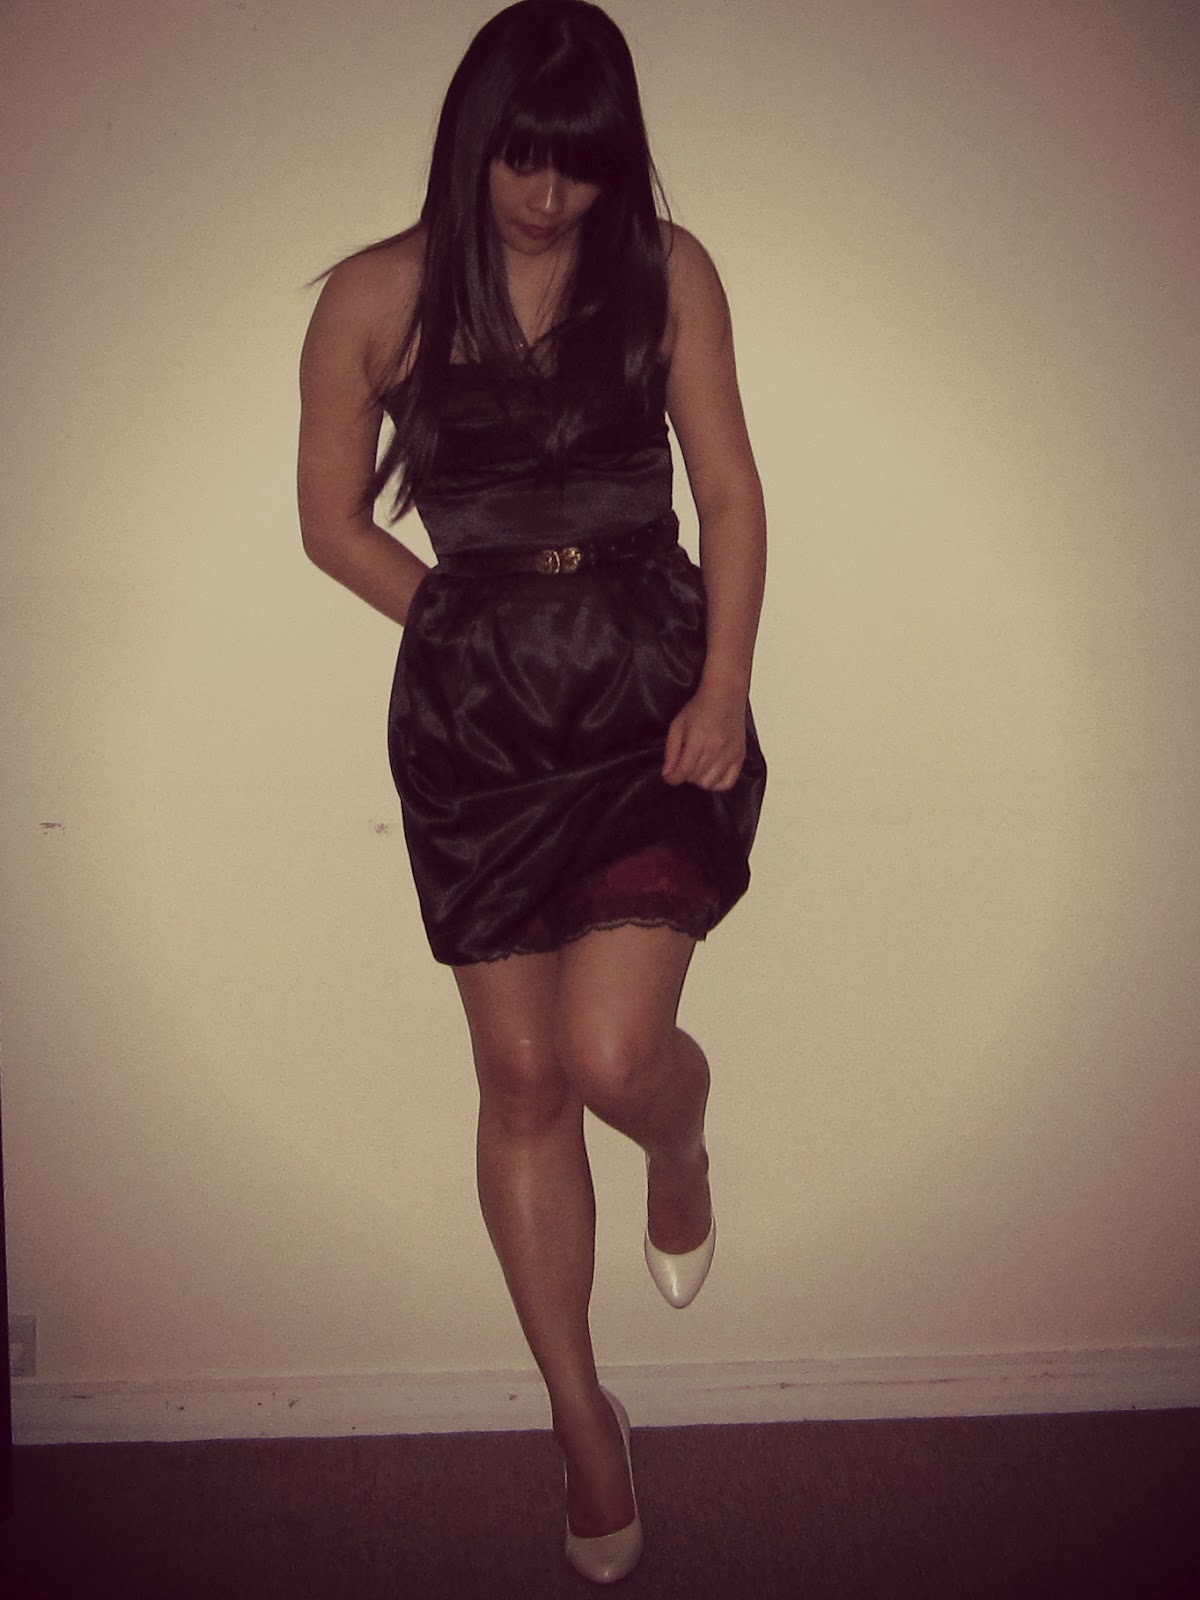
The dress I have made is the Melissa Watson for Palmer Pletsch McCall’s 6331 Misses' Romper and Dresses pattern, which I made a couple of weeks in beautiful floral cotton sateen but it ended up not fitting properly because of adjustments I made to the bodice. You can read more about that disaster here.
Moving on from that version, I cut a different size, and left the pattern unmodified.

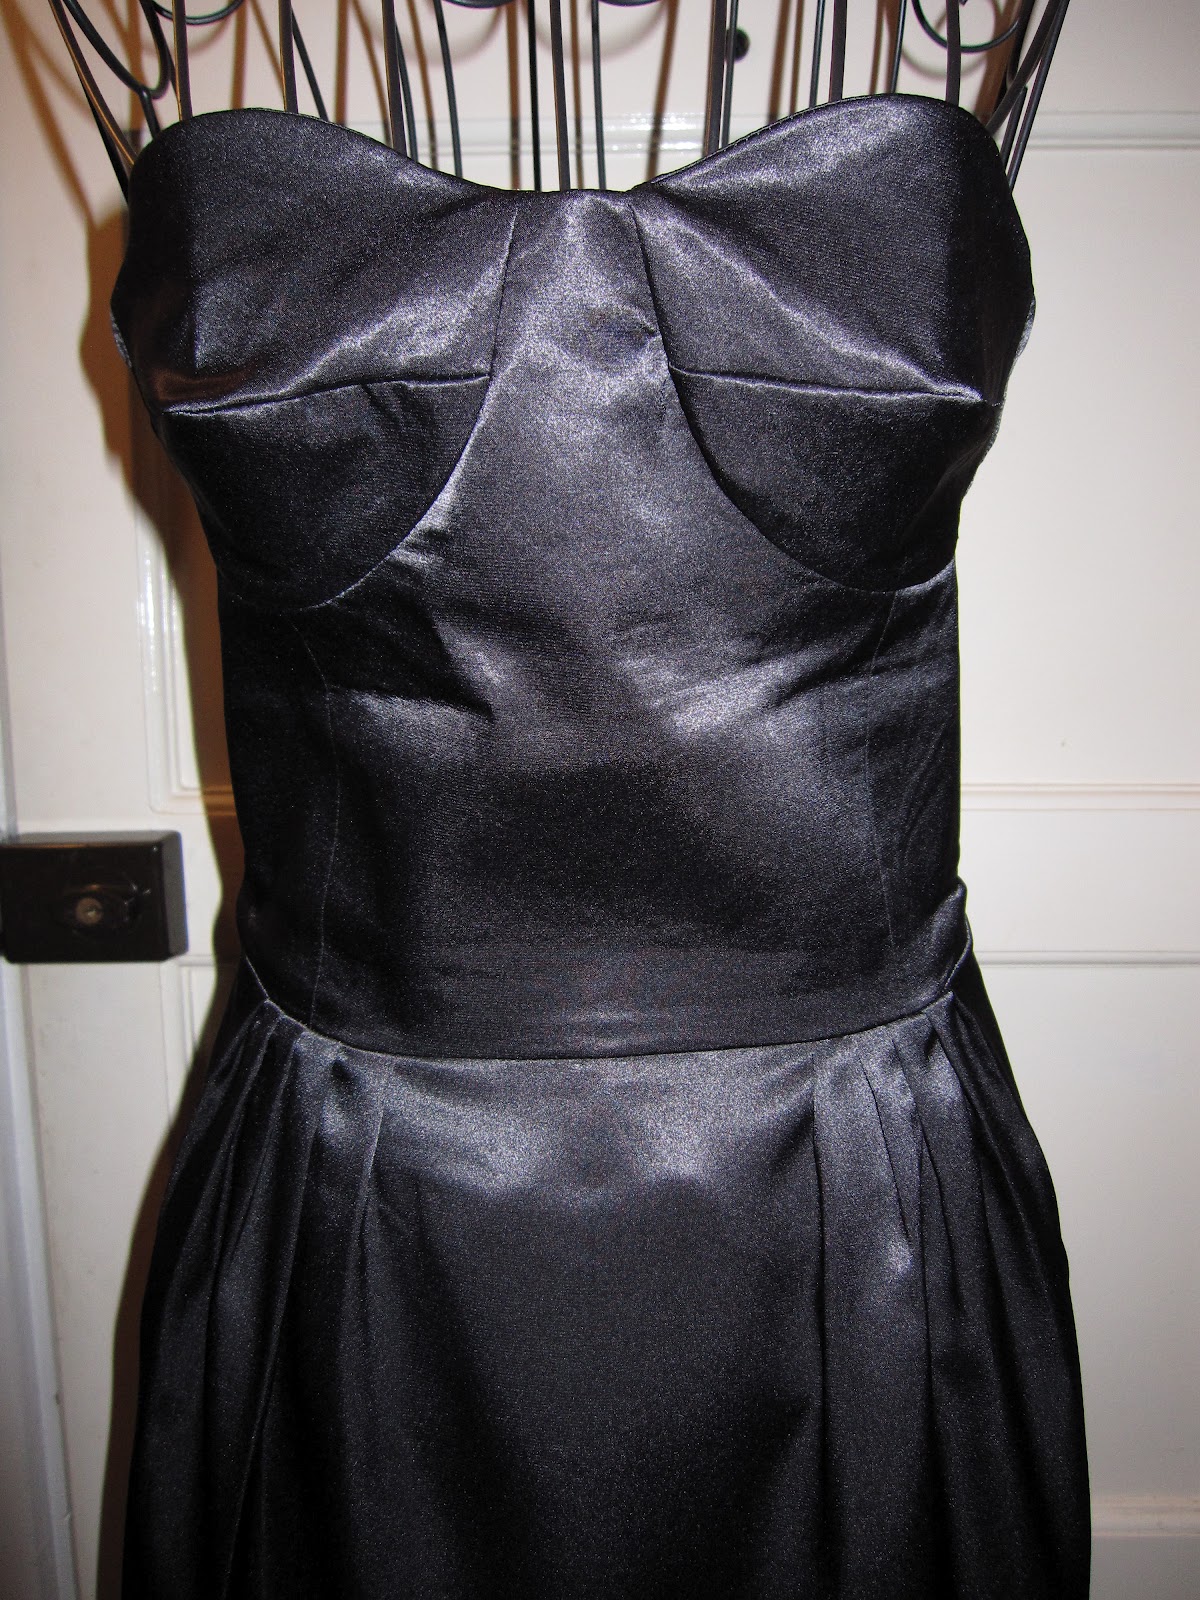
I really love the bustier top, with the bra cups, so sexy and flattering for me, compared to a regular strapless style - like the M5850 which I felt "squished" me in.
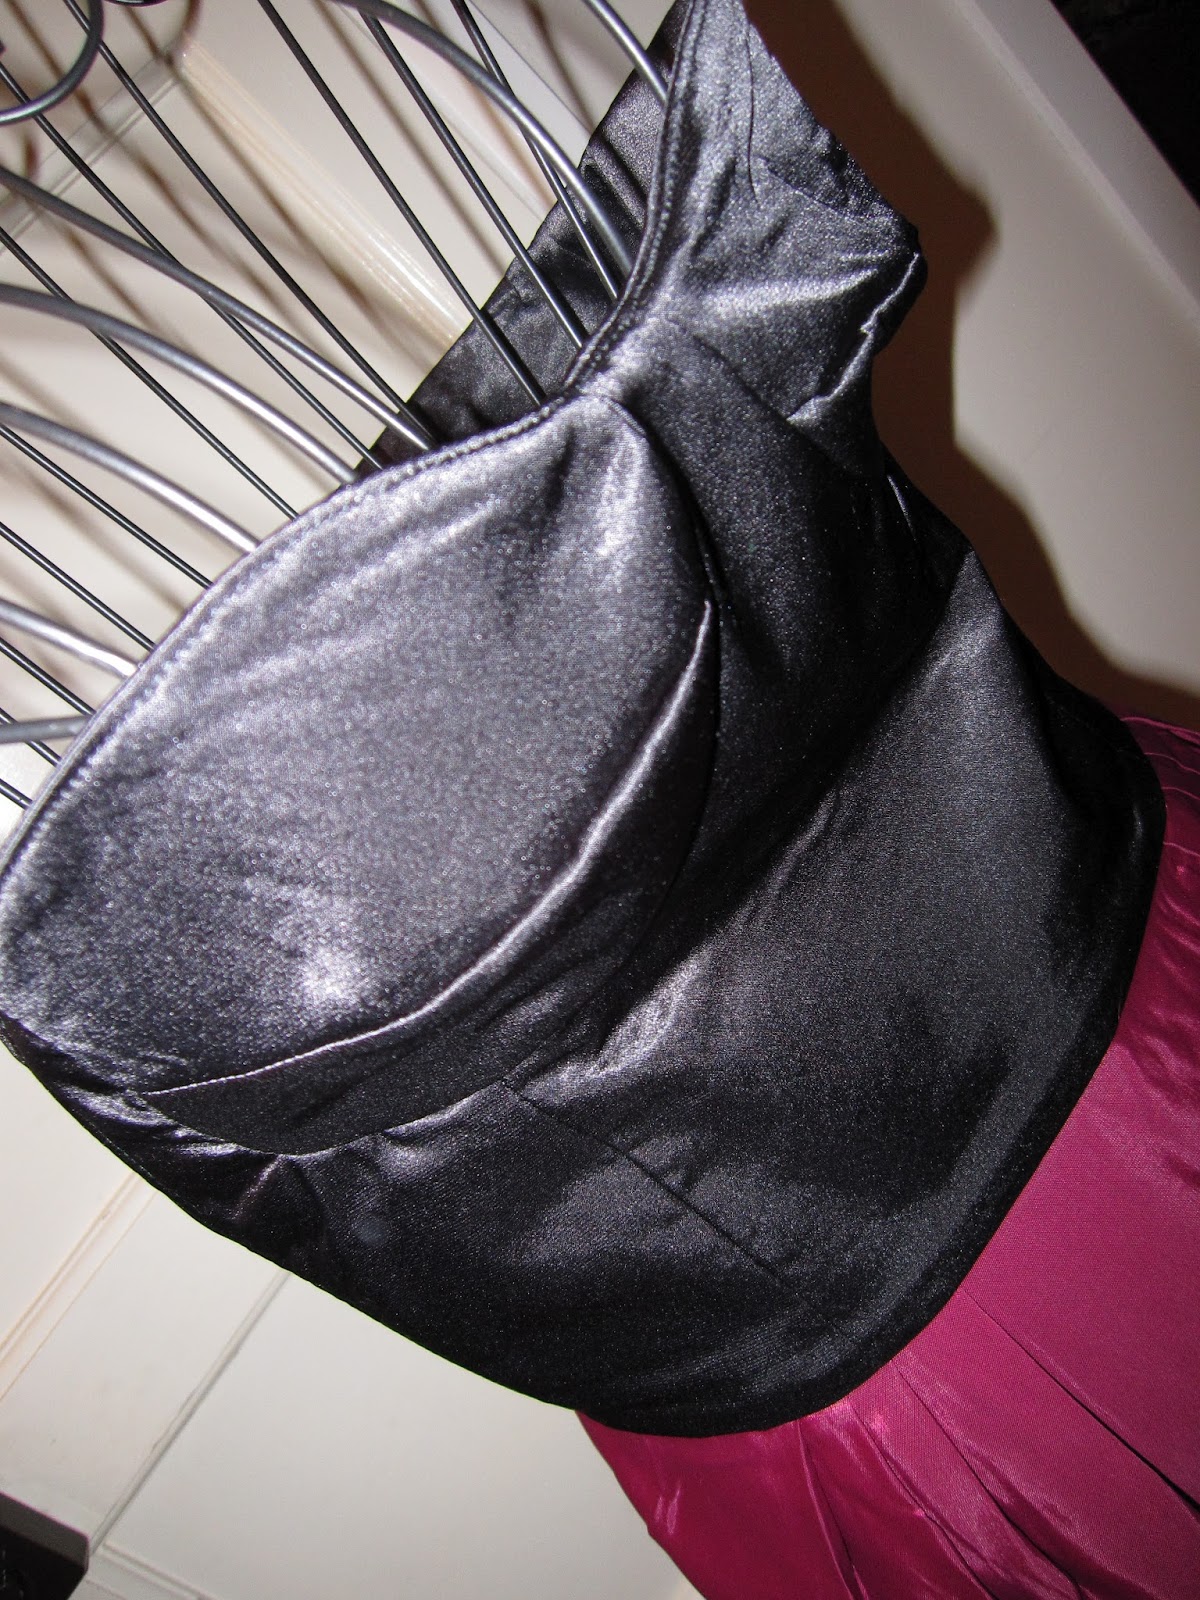
I only used the bodice from the pattern and replaced the skirt with a simple pleated skirt. The bodice is quite easy to put together once you conquer the convex/concaves... which I am still at a loss with sometimes! On the last version, I perfected it!! Even the muslin had perfect cups. It must have something to do with the fabric. I used cotton sateen for the last version and muslin, this dress is satin.


I interfaced the fabric to stabilize it, but I still had issues with the cups. There's a little wrinkling on the side. I unpicked many times, then gave up. A non-sewist would probably think it was part of the design anyway so I didn't get too stressed about it.
 |
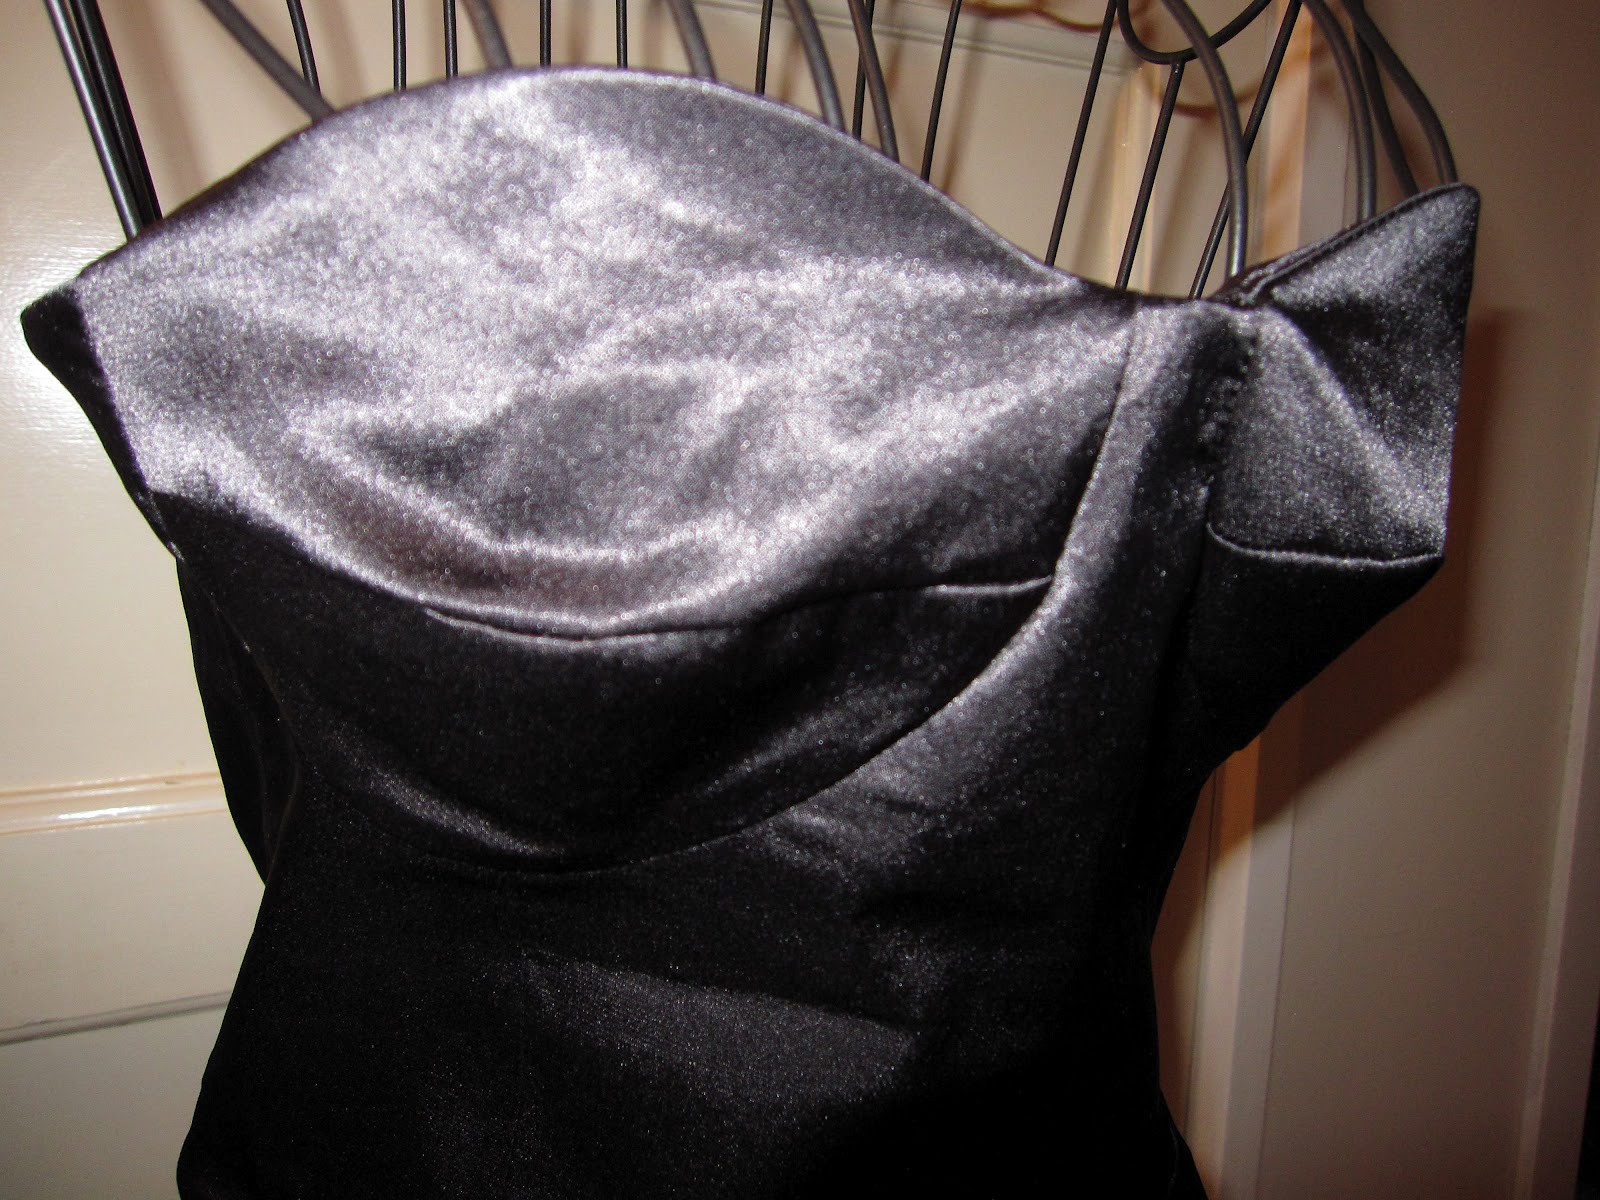
| It's amazing how those pieces join to make a bra cup! |
 |
| See the wrinkles on the side of the bra cup? For the life of me could not get rid of them! |
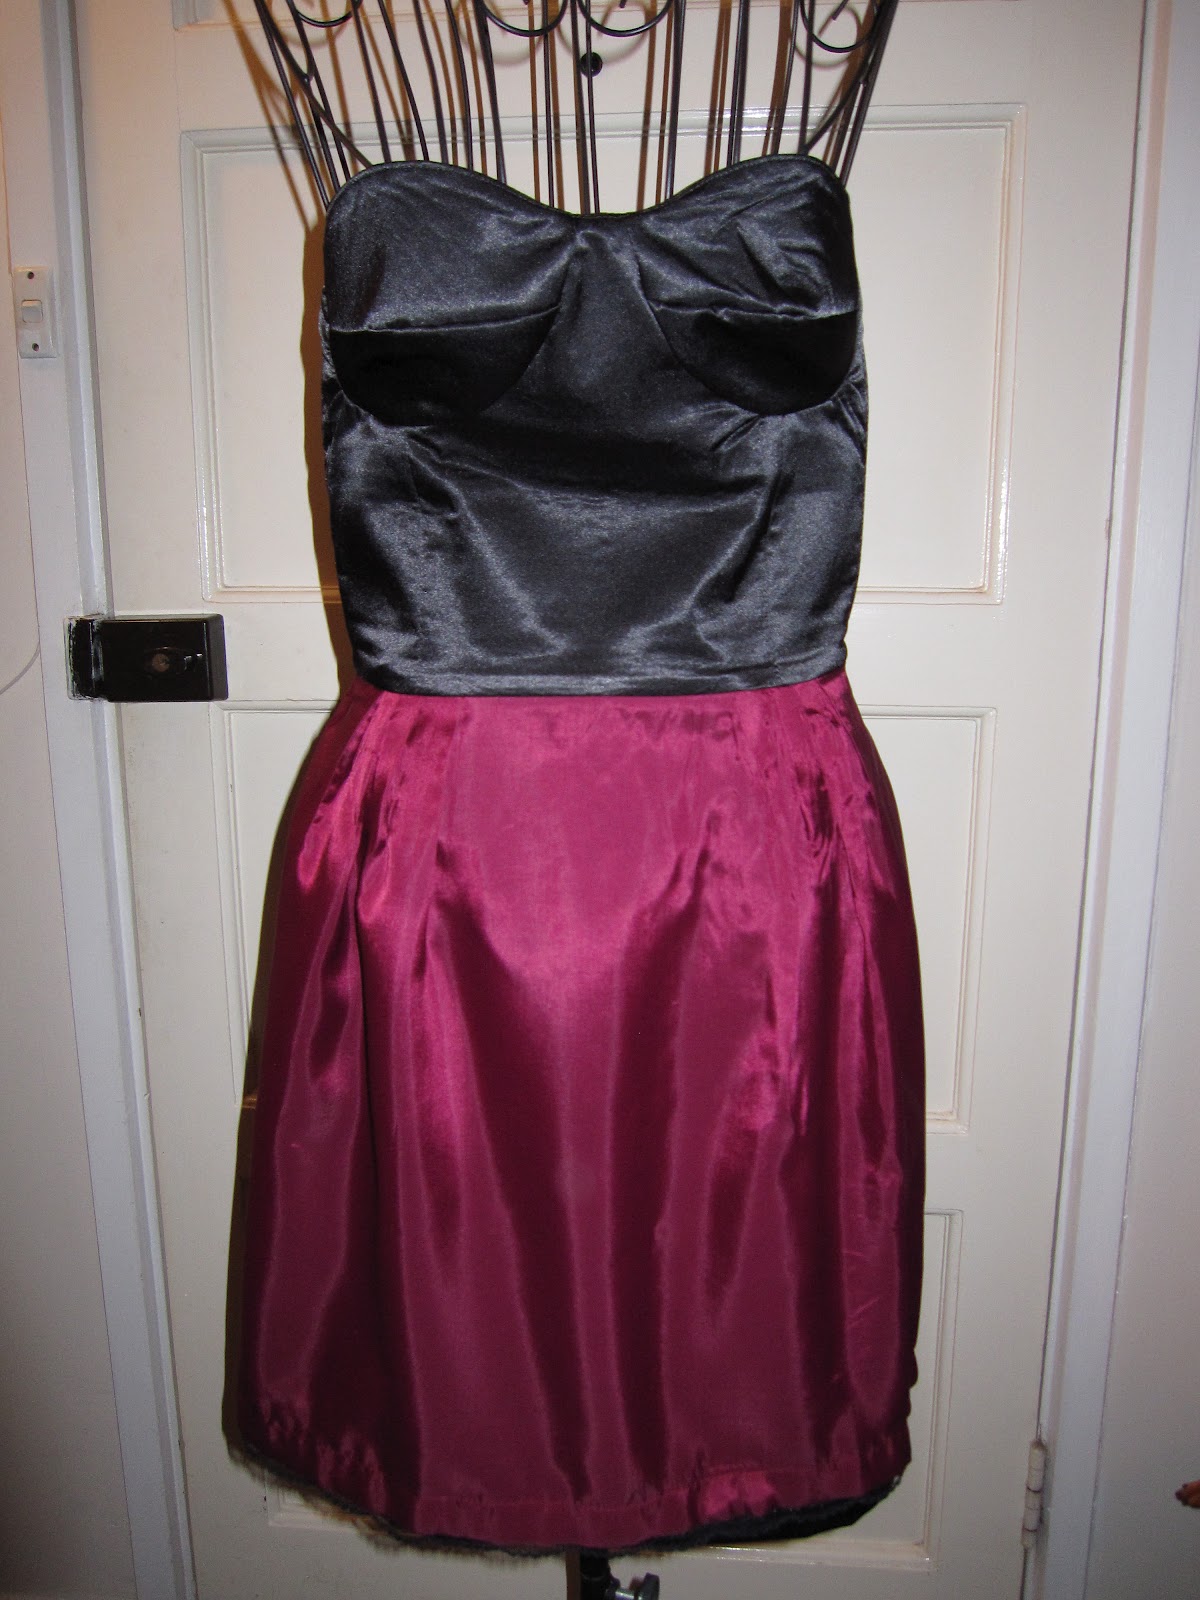
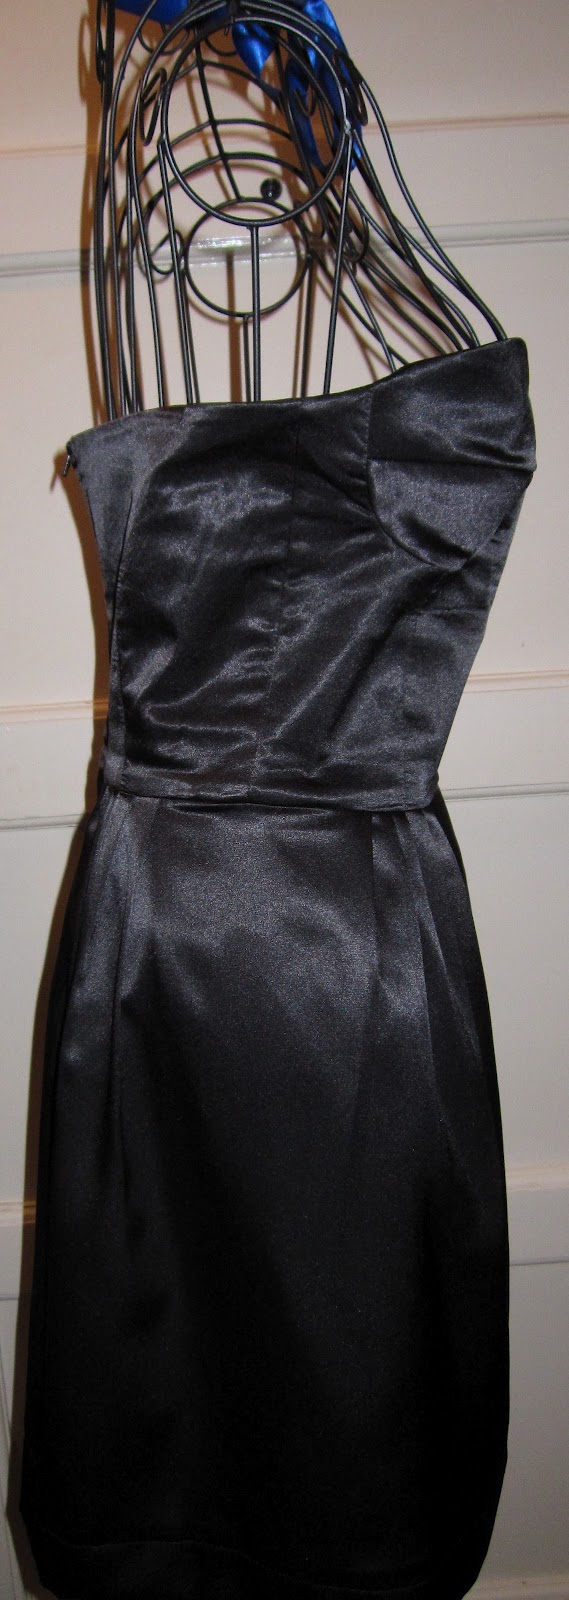
The bodice is self lined, I decided to use the leftover boning to bone this dress. I thought it could use it since the satin is very soft. The skirt lining is magenta bemsilk. I love that marone/magenta/wine/cranberry color. It is my favorite colour combo. Originally I was going to make another 'black & wine' dress using this pattern, but changed my mind and made a black dress with magenta skirt lining instead. I added some lace to the lining hem. I was lazy, I didn't hand sew the hem :/
Pattern Review:
Pattern: Melissa Watson for Palmer Pletsch McCall's 6331, self drafted skirt, no halter strap.
Size: 4 bust, 8 waist, A/b cups
Fabric: 1.2m satin (black), 0.5m bemsilk lining (magenta)
Notions: Dress zipper 14" (back), Gutermann thread (000), interfacing, polyboning, 1.2m lace
Time: 3 days
Techniques used:
- Boning
- Handpicked zipper
- Self drafted pleated skirt
 |
| The inside! |
 |
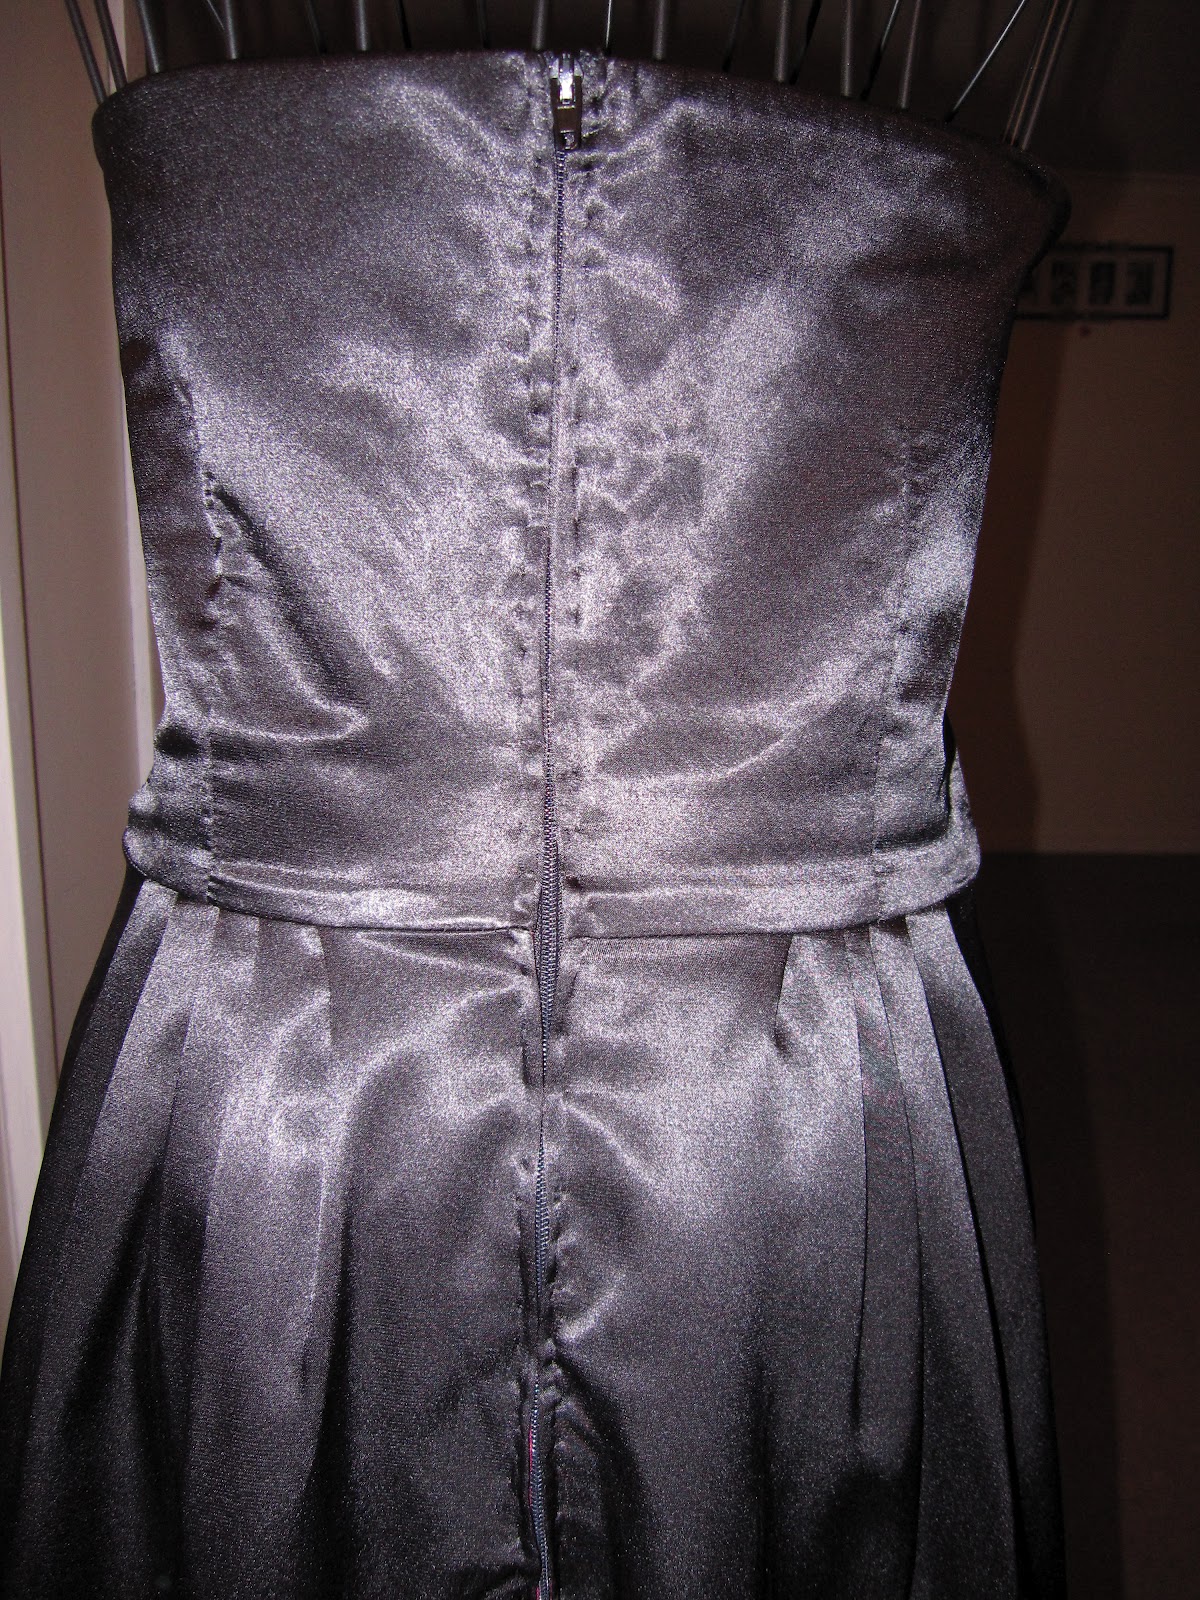
| Handpicked zip. |
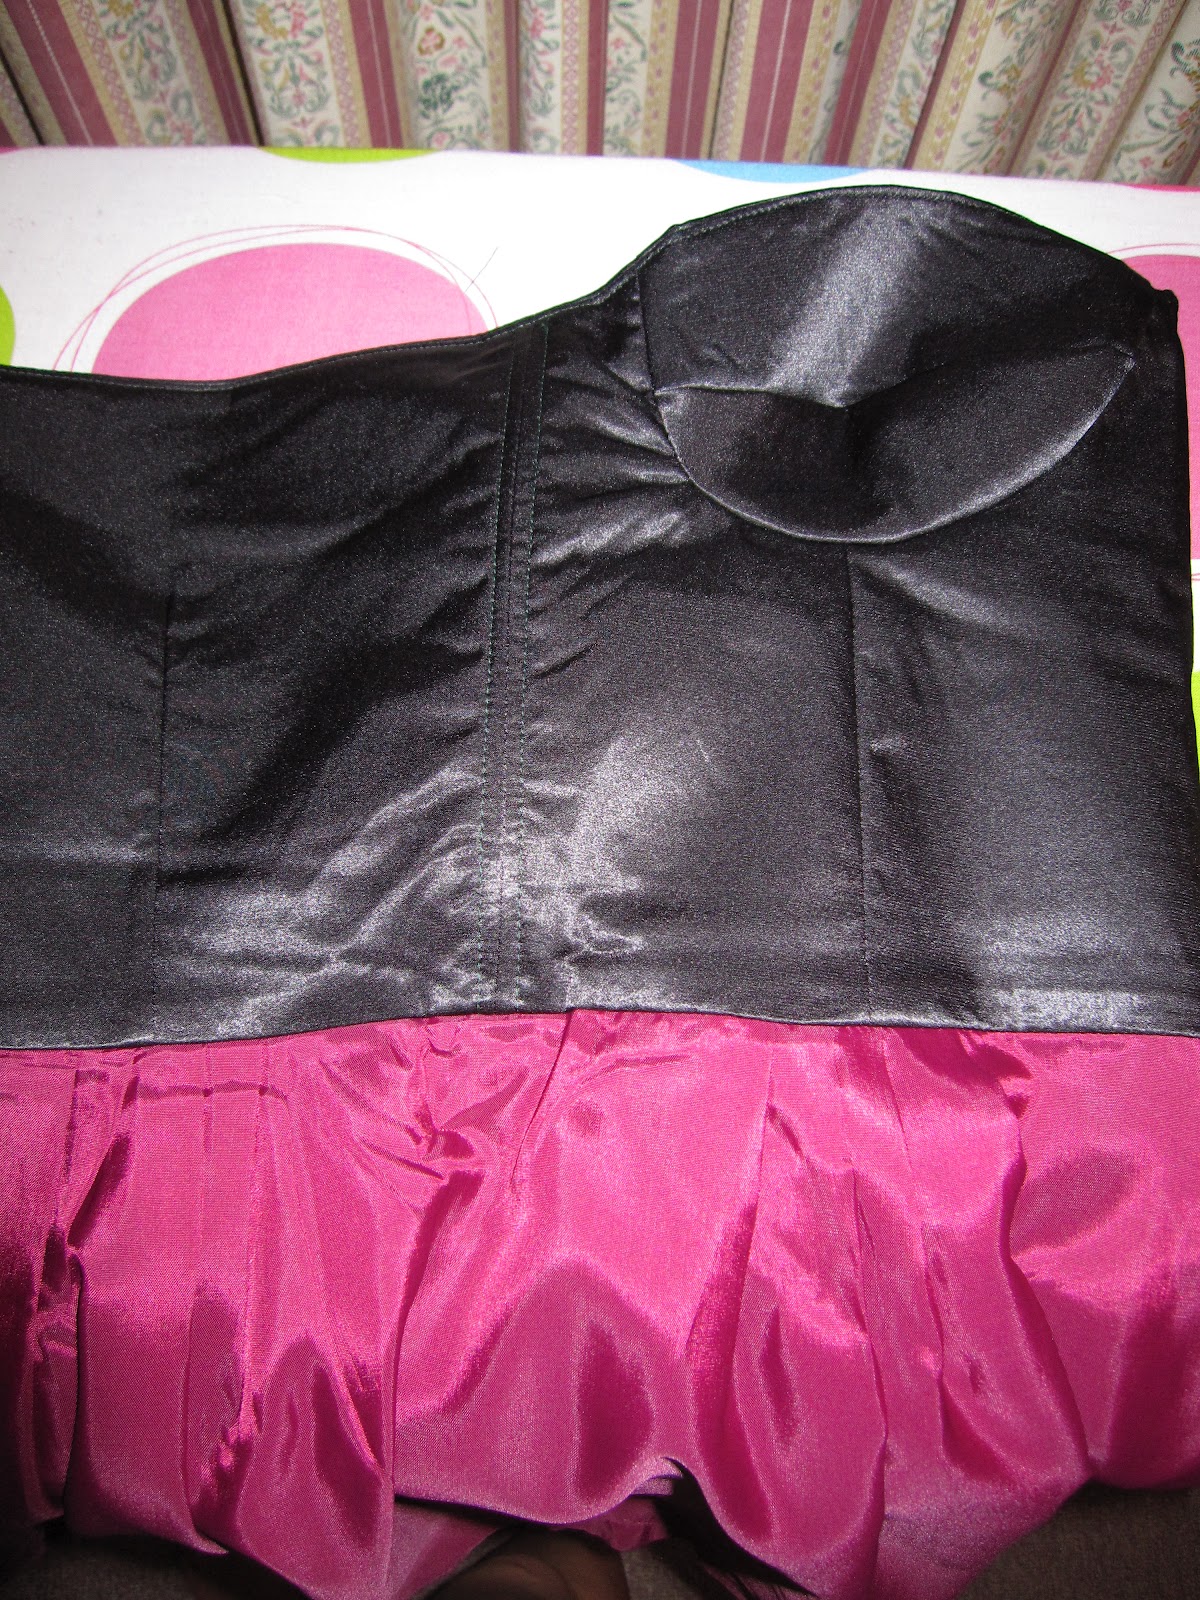 |
| Boning on the side of bodice. |

 |
| The outside. |
 |
| I found my waist! |

I left the pattern as is and did not add any length to the bodice, and the waist is sitting exactly where I want it to and my belt is very happy to be back where it belongs!
 |
| Little pleats! |
 |
| Fabric is too soft. Can see everything happening in between the seams! |
 |
| Handpicked zip. Not the best, bad good enough for my second attempt. |
Overall I am very happy with this dress. Not bad for 3 days work. I have two events coming up at the end of the year that I need pretty dresses for and I think I will be making this bodice again.
I think I'll wear this to a girlfriend's 25th birthday next weekend.
Areas for improvement:
- handpicked zip needs to appear more "invisible"
- need to get rid of the wrinkles on the side of the bra cups
- really should have hand sewed the hem...might unpick it later!
I hope you guys enjoyed reading my pattern review. I really love this pattern, it's my other best loved pattern besides the M5845 which I have made a lot of dresses using the bodice.
If you want to have a peek at what other dresses I have made, pop on over to my blog and check out my Finished Projects page. I have only made dresses and skirts so far.
I'd like to take the opportunity to thank the wonderful Sue for inviting me to write a Guest Post, I am so honoured to feature on your blog.
xoxox


