Friday, August 10, 2012

New WIP & Winning!

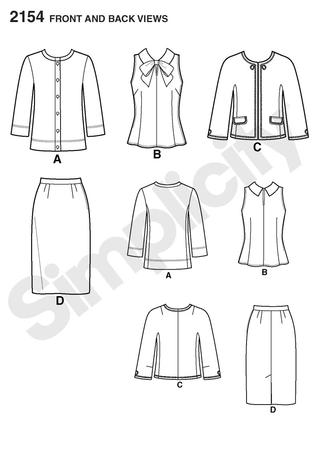
So, for all of you out there who assumed I was done with all of that white and red rayon I used for my latest wedding guest dress, well...you're wrong. Sorry! I have just enough left to squeeze out a blouse I've owned the pattern for forever but haven't gotten around to trying until now - Simplicity 2154!

There have been loads of ridiculously adorable versions of this cute blouse popping up all over the place. Have you seen Scruffy Badger's, Liz's, and Alana's? Just to name a few.
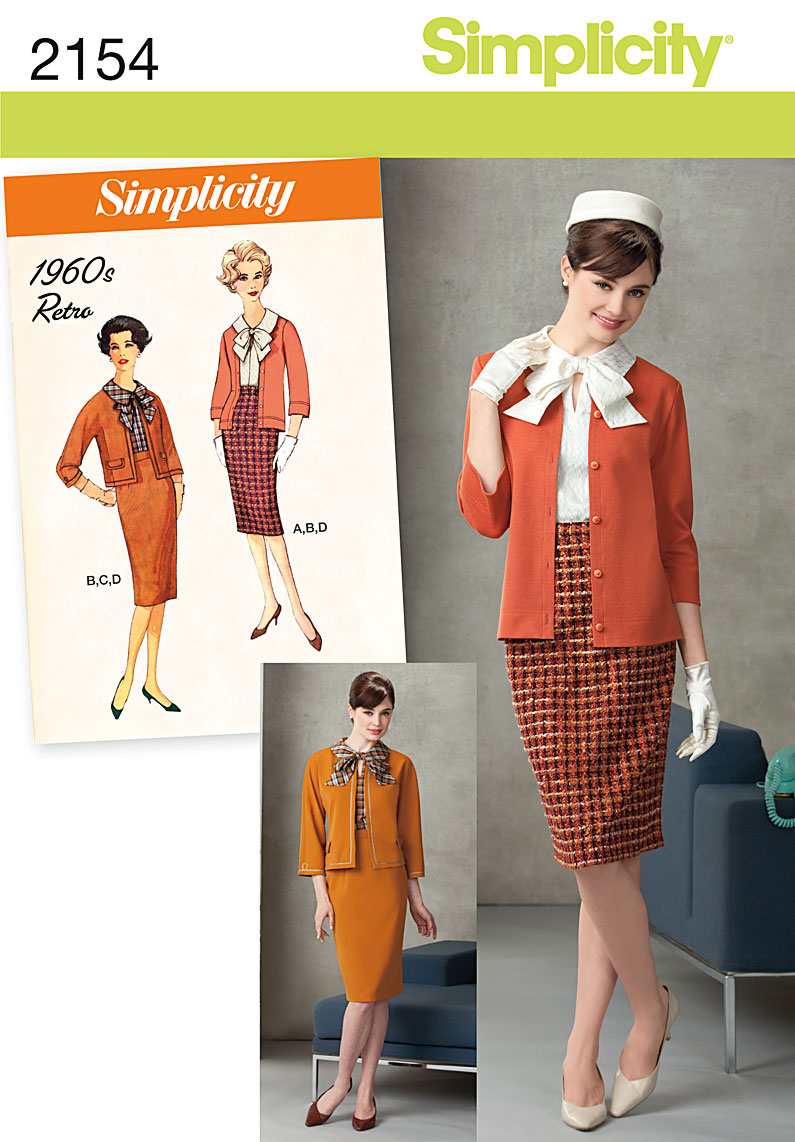
Someday, I'll make the skirt too.


Sleeveless bow blouse


I've been a bit busy since returning from vacation and am preparing to participate in more wedding festivities (and will be wearing my Milly Wedding Guest Dress) this weekend, so progress here will be slow. Hopefully it will be a relatively quick project, though - it's just a blouse!


Laying out pattern - I just LOVE my huge pincushion from A Fashionable Stitch


So far I've only cut everything out and not done any actual sewing yet, but I'm excited to get started! Even though I'm repeating the fabric from my last project, it'll be nice to be working on something smaller scale than a party dress. Also, I've been noticing a lack of cute, wearable tops in my wardrobe, so I'm hoping this blouse will help me in that area.

Also of interest, I just recently won (my first) giveaway over at Seams Sustainable!  Dee, who blogs there, is a super talented sewist (she's creating her own wedding dress!) who also excels in other crafts, like jewelry making. To celebrate her 100th blog post (congrats, Dee!), she gave away a lovely pair of handmade earrings made from reclaimed faux pearls and faceted glass.


weird lighting - doesn't capture the sparklyness!

I'm thrilled to have won a giveaway and feel like I really lucked out with this one. Can't wait to wear these to a fancy occasion - thanks, Dee!

Monday, August 6, 2012

Finished Project: The Wedding Guest Dress

Annnd, we're back!

I've returned from my time off vacationing and participating in friends' wedding festivities. The past week or two has been a bit of a whirlwind  - and now it's AUGUST! What? Where did half of summer go?!

Anyway, as promised, I've got all the juicy details on my latest finished project. Just for the record, I did complete this dress in July, so it still counts toward my one-finished-project-a-month goal - yay!

On the pretty patio at the wedding with Tom.

Dressmaking Details:
  • On the bodice, I lowered the front neckline by 1.5" 

front

  • Added 2" to the back of the bodice to help hide my bra, but then somehow ended up liking the final look better without one!

     
  • I made all of the darts inside, instead of outside as the bodice design prescribes.


back


  • I lined the bodice with muslin and half-assed some bias facing to finish the armholes, since I didn't construct the bodice as I should have in order to properly incorporate the lining (like this). Maybe next time I'll do it right!
  • Ended up just making a small hem for the circle skirt without too much trouble. It isn't perfect, but looks ok to me. 


circle skirt hem and sad (but functional) armhole finish

  • Tried French seams for the first time on the unlined skirt. 
  • I'd wanted to do something interesting in the back since the design of the dress is fairly simple, so I created a tiny key-hole thing with a bow clasp.  

    I used a sturdy clasp and some small snaps to secure the back bow. Note: photos were taken after wearing (and sweating!) in the dress all evening!


  • Didn't actually follow any instructions when constructing the dress, other than the waist-stay tutorial. It was fun to kind of just "make it work" as I went along - even though it didn't result in the most perfectly finished garment.


Waist stay details - sorry for the wrinkles!


Outfit Details:
  • As for my hair, I just put it up in a bun and pinned back my "bangs" (they're almost too long to be called that) in a little swirl.

hair!

 
  • Opted to pair the dress with a thrifted red belt, rather than making one - much easier!
  • Wore with a pair of white wedges and a vintage straw/woven purse. 


vintage(?) straw purse
    • I got the purse at an antique store in Napa, CA a year or two ago when Tom and I were vacationing there. I have no idea what year or decade it's from, though I did notice a tiny "Made in China" tag inside, if that's any indication of its age. I love wearing it because it's just big enough to hold my phone, camera, wallet, and sunglasses and doesn't weigh a ton.


Results of Wear:
  • Let's just say that sitting in the hot sun in 90+ degree weather during the ceremony had me doing *some* sweating, which ended up causing several of the red spots on the fabric to BLEED. I should have seen this coming, since there was a little bit of slight bleeding/running of red-ish dye when I originally washed the fabric prior to starting the project. 


bleeding dots :-/

 
  • Also, the skirt is now totally wrinkled and creased in a million places - oh well!
  • The back bow kept coming unsnapped whenever I moved, but that wasn't a serious problem, since the clasp stayed firmly closed (keeping the dress from falling off!). It just resulted in one side of the bow flopping around a little bit while unsnapped.


slightly crooked back closeup!

 
  •  The back did get a little scrunchy/slouchy at times as you can kind of see in the photos.
  • The waist stay started to feel a bit constricting by the end of the night. I definitely unclasped it for the car ride home!

All in all the dress was a hit and I'm pleased with the final result. It was my first go at making a circle skirt, a waist stay, and improvising the back bodice closure the way I did. :)

Yay dress! and Congrats to Mike and Alison! (and yay, food! The salad I've clearly demolished in this photo had edible FLOWERS in it!)


Thursday, August 2, 2012

Guest Post by Neeno: McCall’s 6331 Pattern Review

Ahoy there! Today we've got our second guest post for the week from another of my favorite bloggers. Today, you'll get to hear from Neeno who is simply adorable, in my expert opinion. If you're in the mood to drool over some adorable AND superbly made dresses, scroll down to check out her post here and then hop on over to her blog and take a look at some of her recent projects. Girl can sew a dress...and line it! As Gordon Ramsay would say (on "MasterChef"), "STUNNING."
-     -     -     -     -     -     -     -     -     -     -     -     -     -     -     -     -     -     -     -     -     -     -     -     -

Hi there! I’m Neeno from the blog Sew Me Love.

I’m 25 and I live in Melbourne, Australia. I started sewing
and reading sewing blogs in July 2011 and started blogging in September 2011 to
document my journey and also to share my experiences with other sewists.

I was so excited when one of my favourite bloggers
Sue asked me to write a guest post for her blog while she is sunning
herself on beaches in North Carolina. Lucky lady! 

I came across Sue’s blog
during the Julia Bobbin Mad Men challenge in March 2012, and since then I have
been absolutely smitten with her and her creations.

I have never written a guest post before so I wasn't sure what to write. I am not experienced enough to write a tutorial or share with you any special sewing skills, so I have written a pattern review for a dress I whipped up especially for Sewing Steady!


The dress I have made is the Melissa Watson for Palmer Pletsch McCall’s 6331 Misses' Romper and Dresses pattern, which I made a couple of weeks in beautiful floral cotton sateen but it ended up not fitting properly because of adjustments I made to the bodice. You can read more about that disaster here.

Moving on from that version, I cut a different size, and left the pattern unmodified.


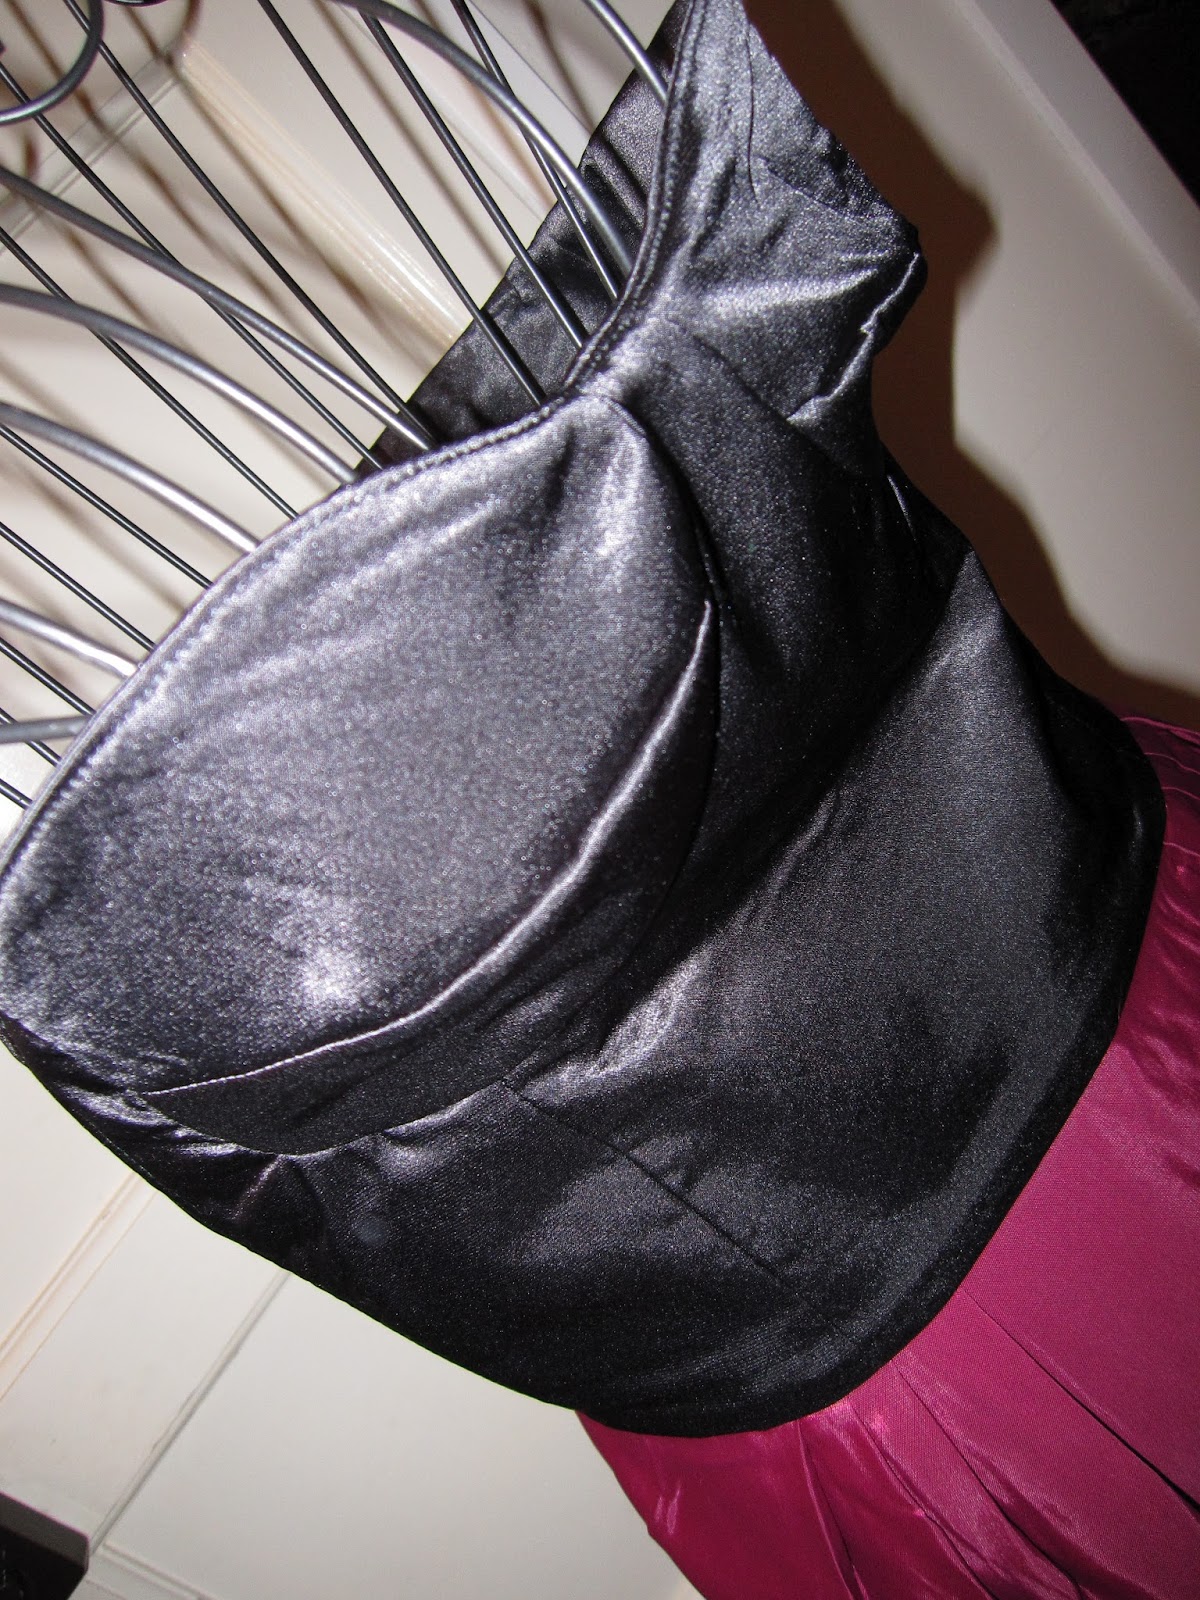
I really love the bustier top, with the bra cups, so sexy and flattering for me, compared to a regular strapless style - like the M5850 which I felt "squished" me in.

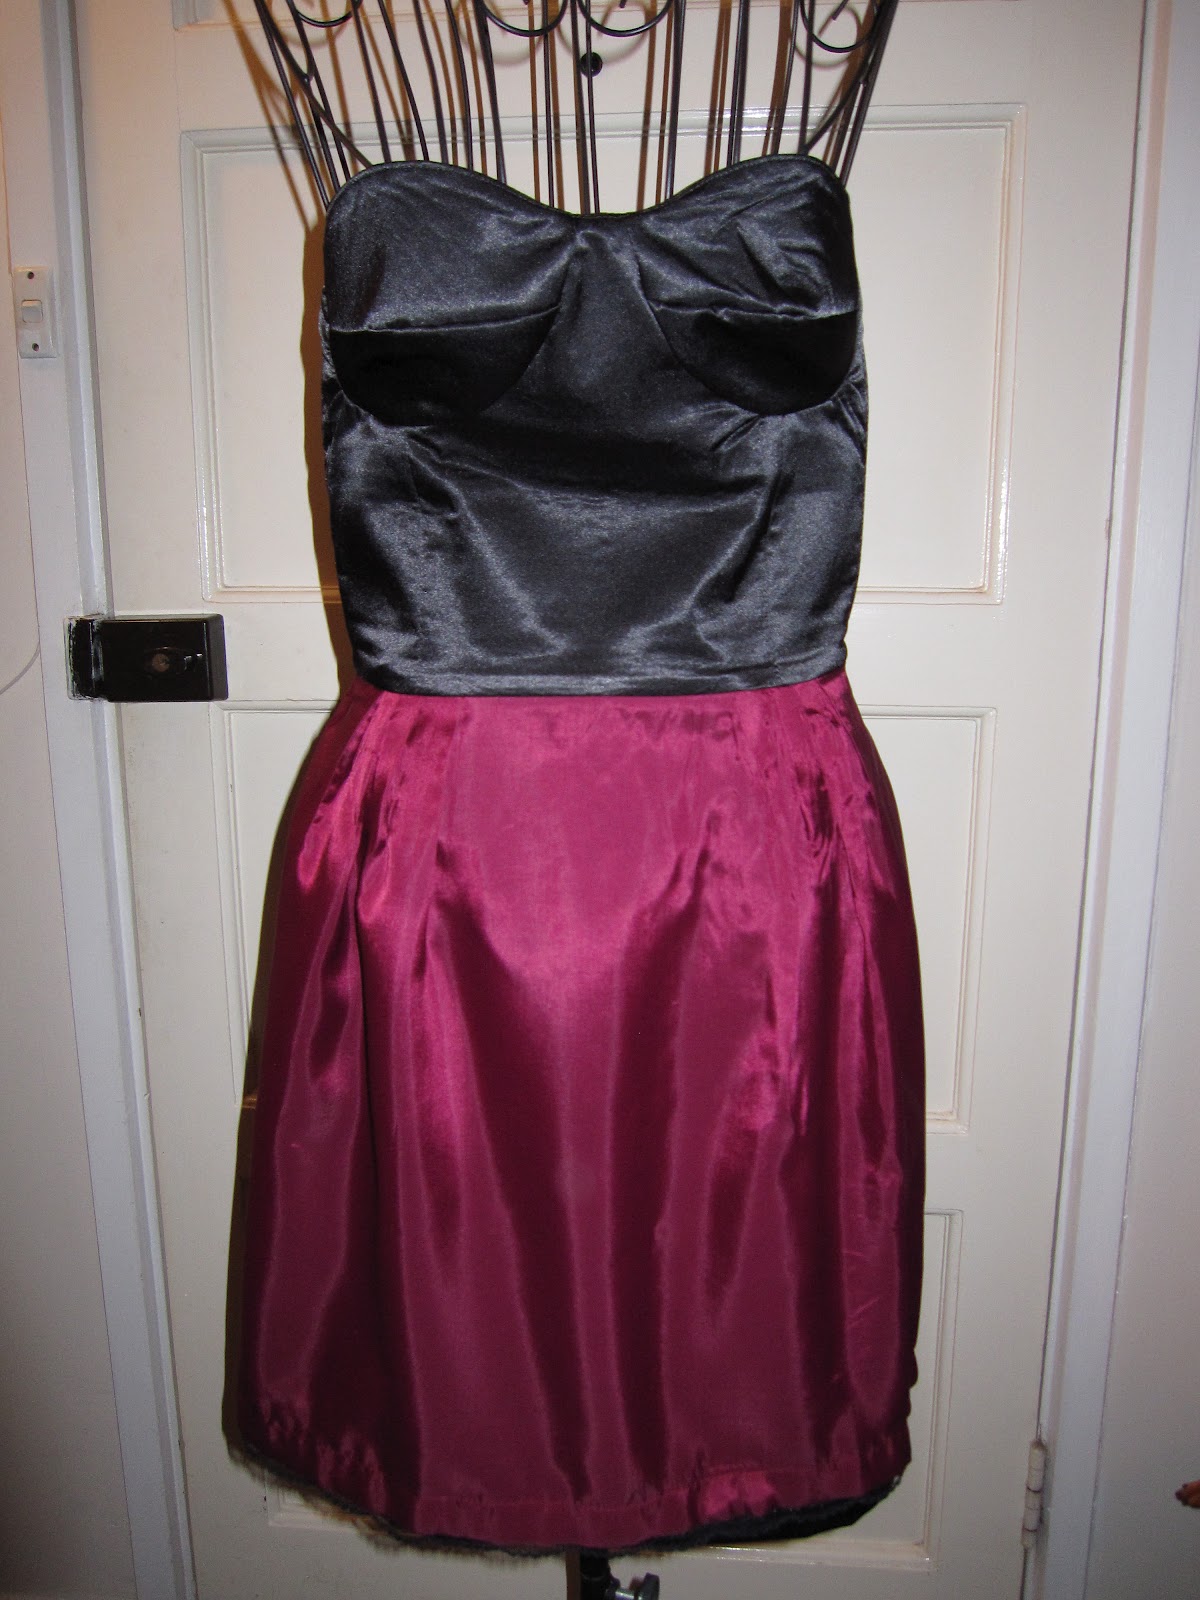
I only used the bodice from the pattern and replaced the skirt with a simple pleated skirt. The bodice is quite easy to put together once you conquer the convex/concaves... which I am still at a loss with sometimes! On the last version, I perfected it!! Even the muslin had perfect cups. It must have something to do with the fabric. I used cotton sateen for the last version and muslin, this dress is satin.


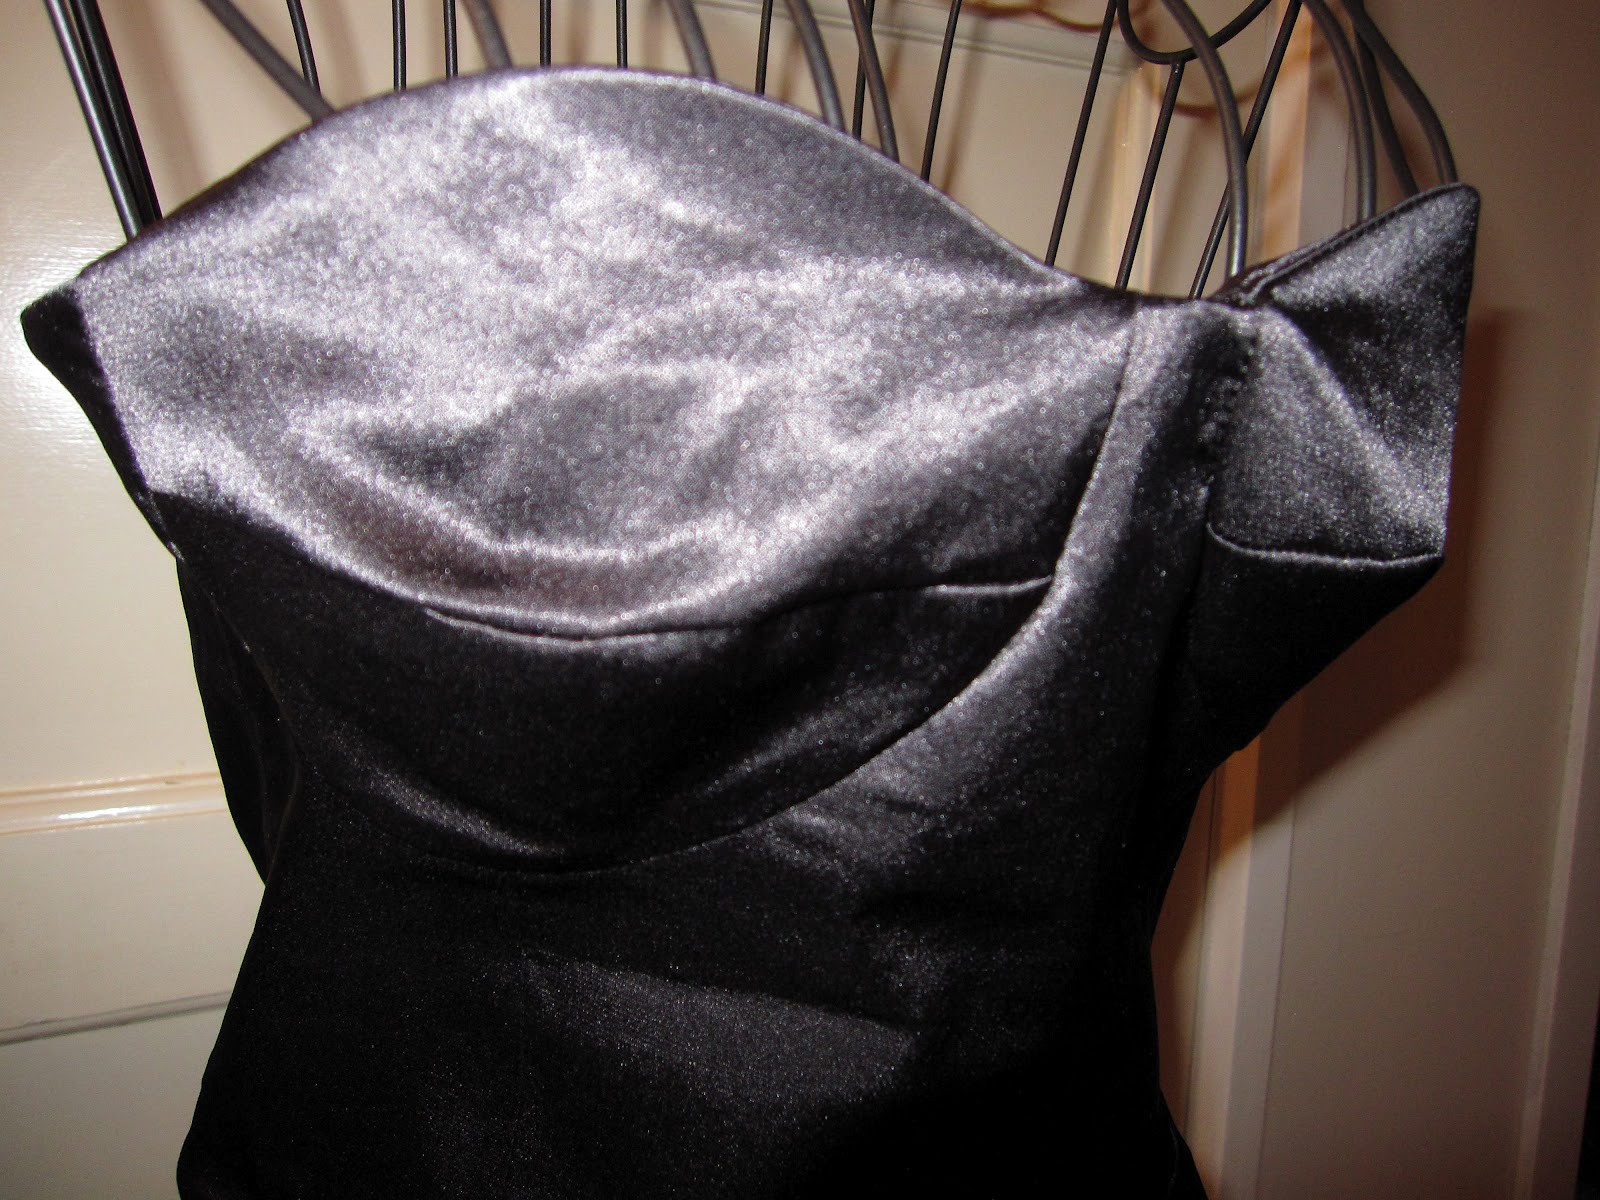
I interfaced the fabric to stabilize it, but I still had issues with the cups. There's a little wrinkling on the side. I unpicked many times, then gave up. A non-sewist would probably think it was part of the design anyway so I didn't get too stressed about it.


It's amazing how those pieces join to make a bra cup!
See the wrinkles on the side of the bra cup? For the life of me could not get rid of them!


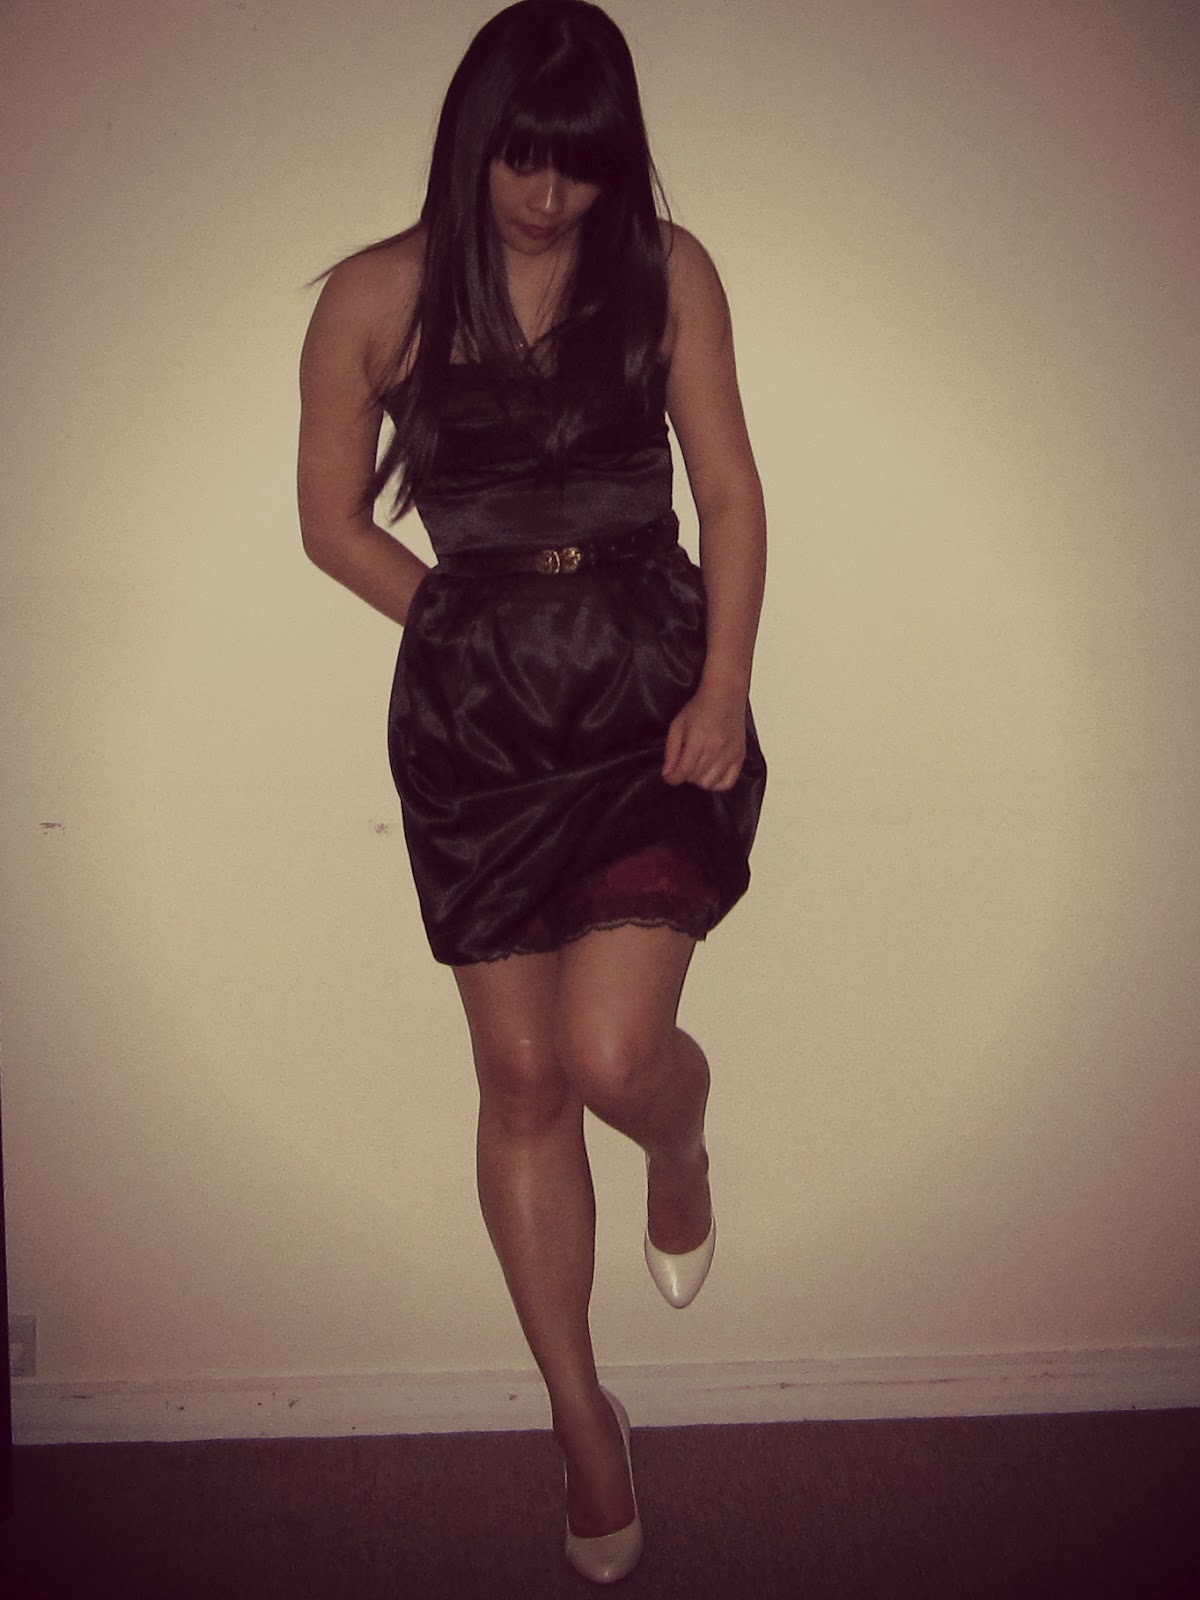
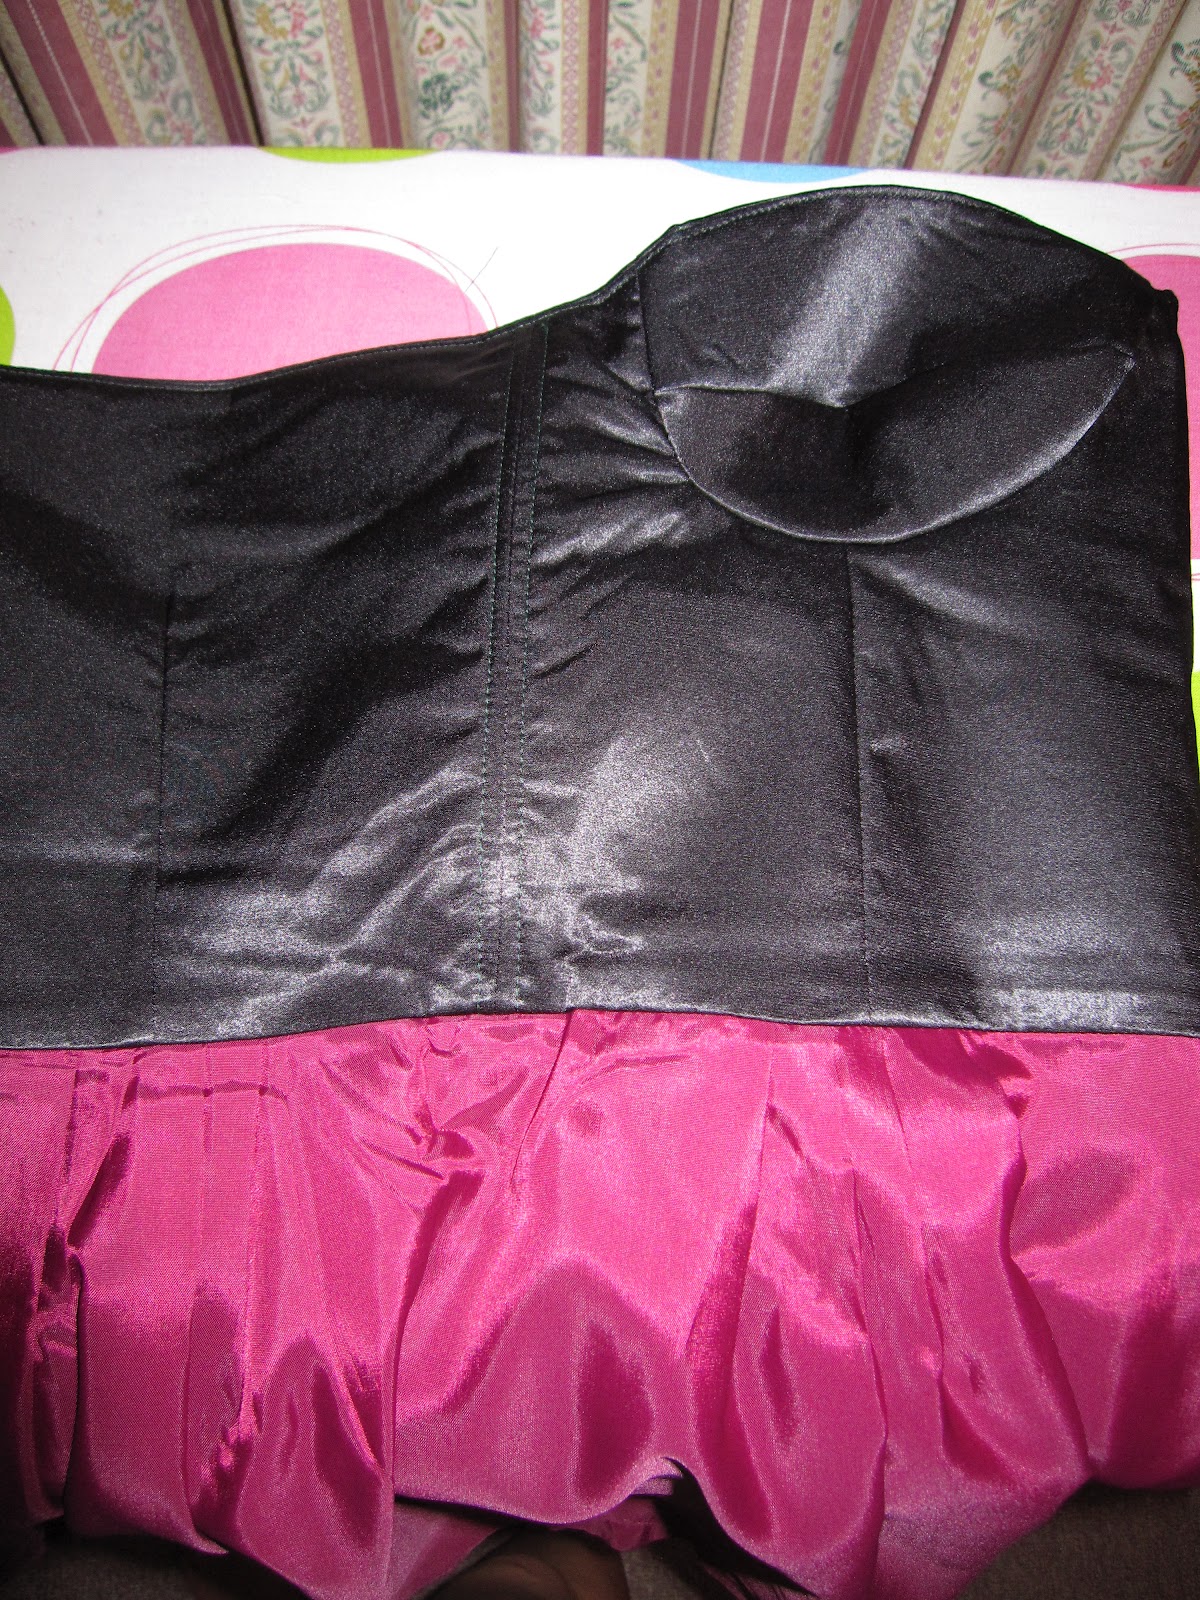
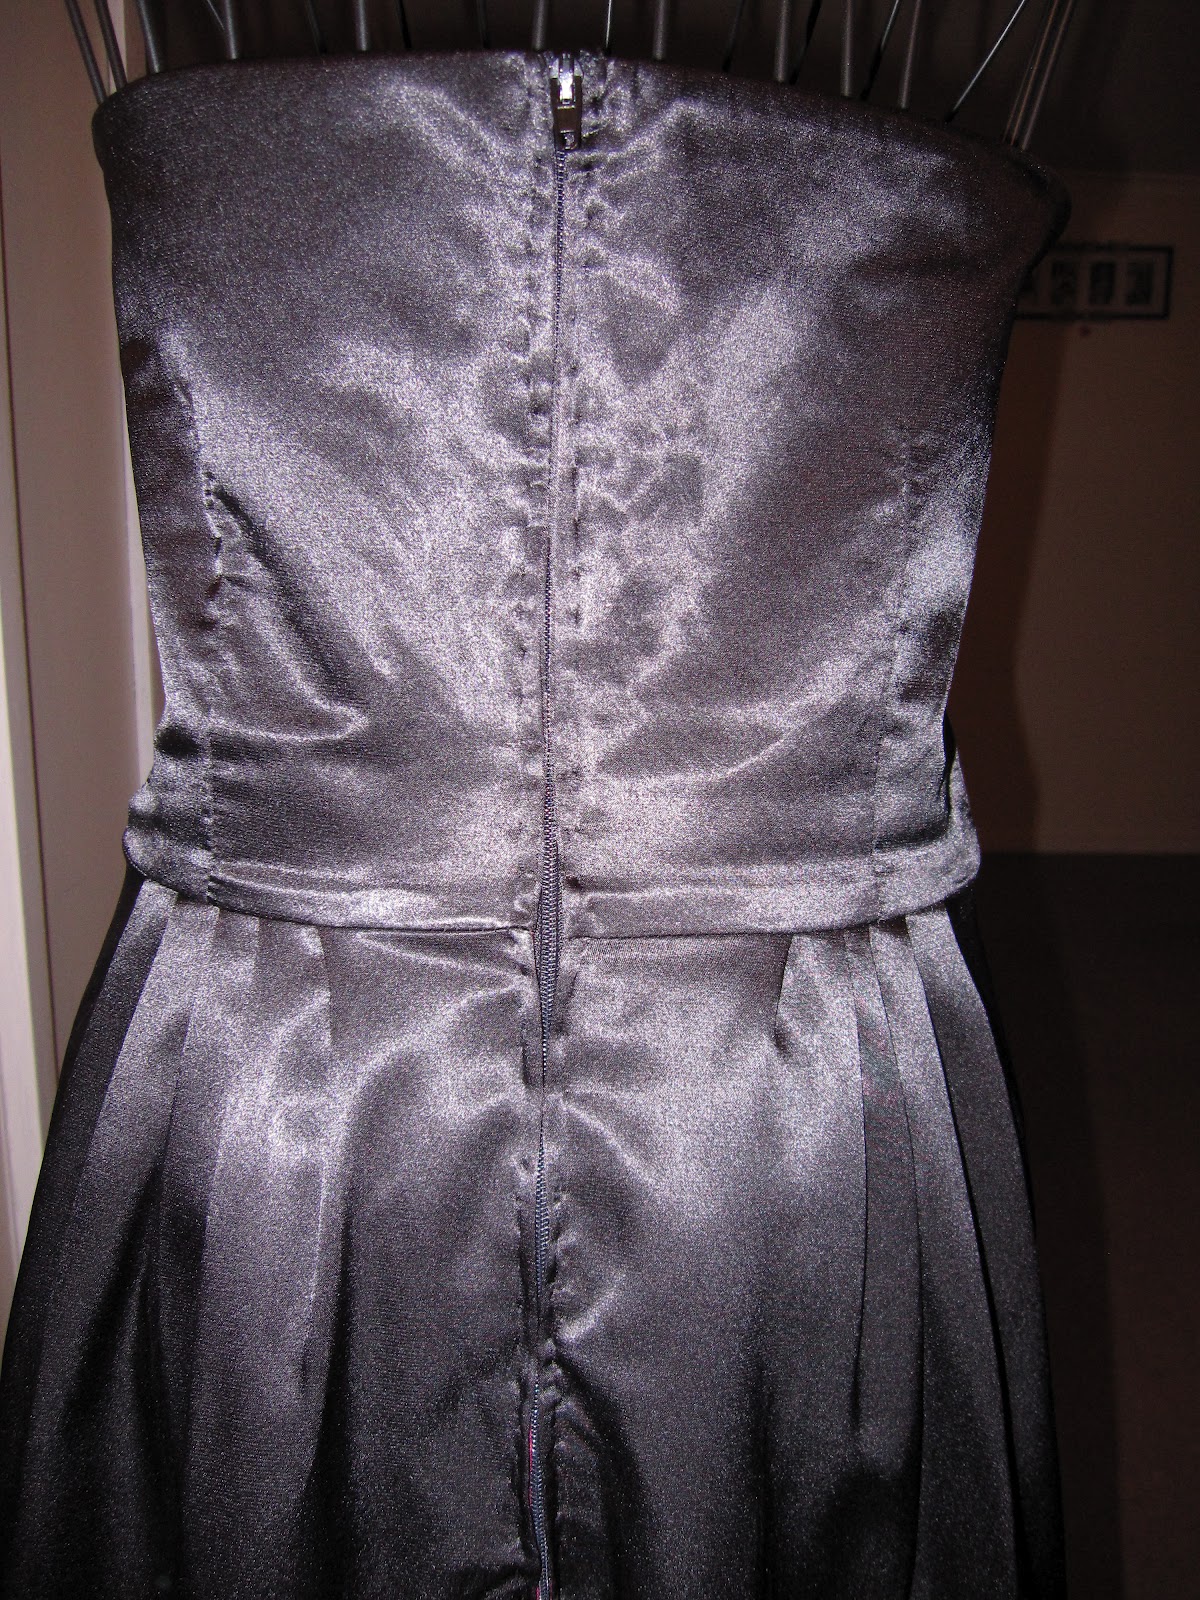
The bodice is self lined, I decided to use the leftover boning to bone this dress. I thought it could use it since the satin is very soft. The skirt lining is magenta bemsilk. I love that marone/magenta/wine/cranberry color. It is my favorite colour combo. Originally I was going to make another 'black & wine' dress using this pattern, but changed my mind and made a black dress with magenta skirt lining instead. I added some lace to the lining hem. I was lazy, I didn't hand sew the hem :/


Pattern Review:

Pattern: Melissa Watson for Palmer Pletsch McCall's 6331, self drafted skirt, no halter strap.
Size: 4 bust, 8 waist, A/b cups
Fabric: 1.2m satin (black), 0.5m bemsilk lining (magenta)
Notions: Dress zipper 14" (back), Gutermann thread (000), interfacing, polyboning, 1.2m lace
Time: 3 days
Techniques used: 
    • Boning
    • Handpicked zipper
    • Self drafted pleated skirt


The inside!

Handpicked zip.
Boning on the side of bodice.


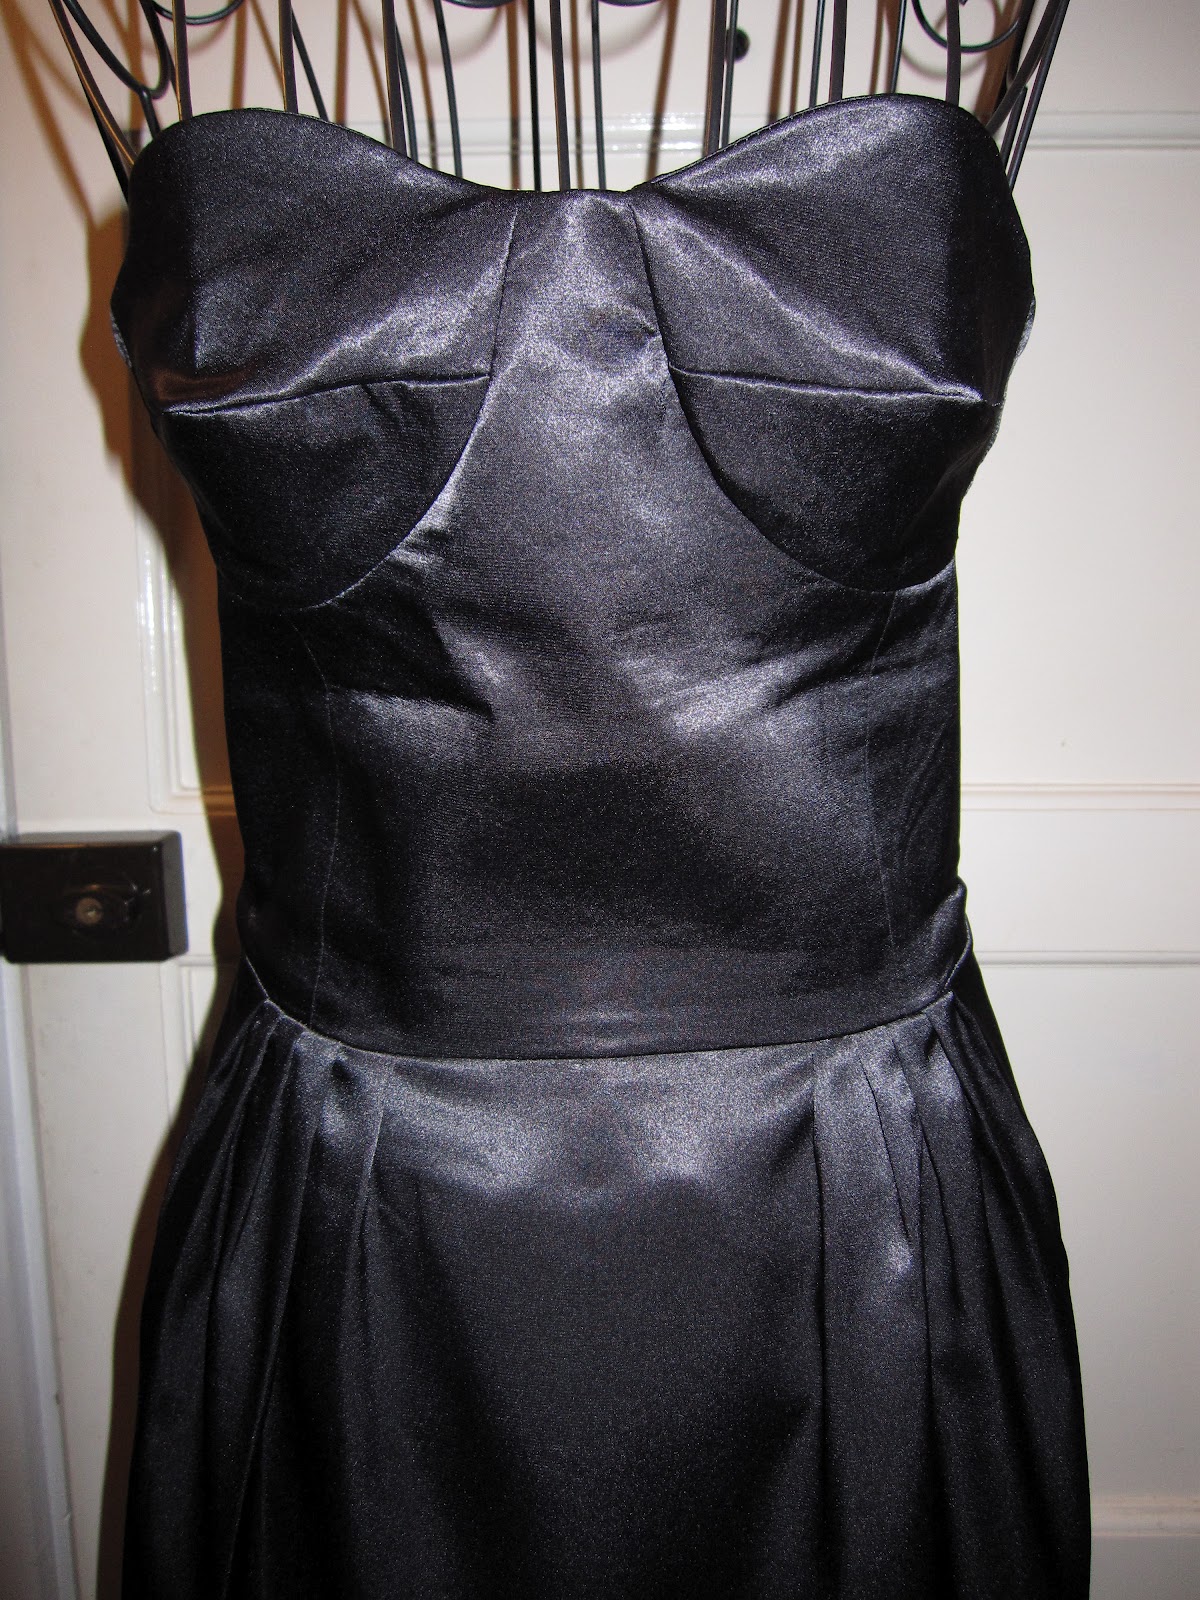
The outside.
I found my waist!


I left the pattern as is and did not add any length to the bodice, and the waist is sitting exactly where I want it to and my belt is very happy to be back where it belongs!


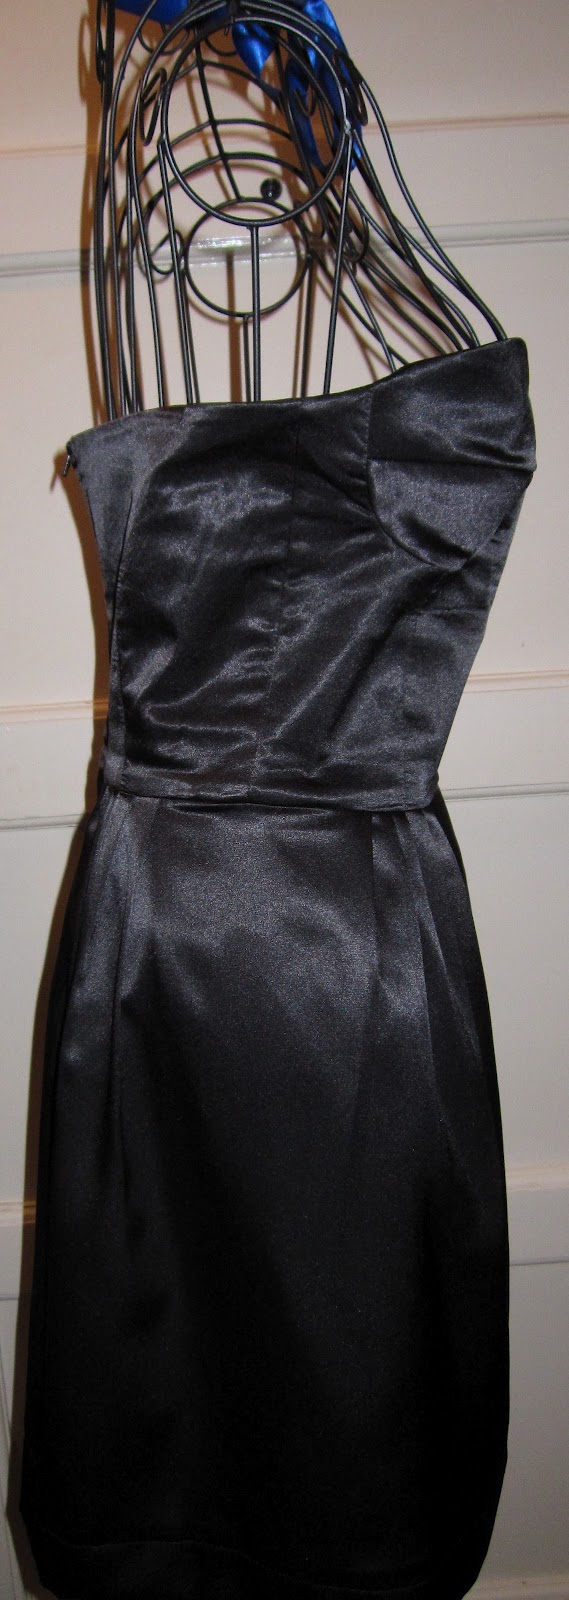
Little pleats!


Fabric is too soft.
Can see everything happening in between the seams!
Handpicked zip. Not the best, bad good enough for my second attempt.


 Overall I am very happy with this dress. Not bad for 3 days work. I have two events coming up at the end of the year that I need pretty dresses for and I think I will be making this bodice again. 
I think I'll wear this to a girlfriend's 25th birthday next weekend.

Areas for improvement:


  • handpicked zip needs to appear more "invisible"
  • need to get rid of the wrinkles on the side of the bra cups
  • really should have hand sewed the hem...might unpick it later!
I hope you guys enjoyed reading my pattern review. I really love this pattern, it's my other best loved pattern besides the M5845 which I have made a lot of dresses using the bodice.

If you want to have a peek at what other dresses I have made, pop on over to my blog and check out my Finished Projects page. I have only made dresses and skirts so far. 

I'd like to take the opportunity to thank the wonderful Sue for inviting me to write a Guest Post, I am so honoured to feature on your blog.

xoxox